
Wondering how to clean coffee maker without vinegar? Use food-grade citric acid, lemon juice, or baking soda instead.
To clean a coffee maker without vinegar, run one tablespoon of food-grade citric acid dissolved in a full carafe of warm water through a single brew cycle, then flush the machine with two rinse cycles of fresh water.
Lemon juice at equal parts with water descales the same way with a milder finish, and a baking soda flush handles coffee oils and odor.
The important part to understand is that these ingredients do different jobs: citric acid and lemon dissolve mineral buildup, and baking soda cleans residue without touching the limescale underneath.
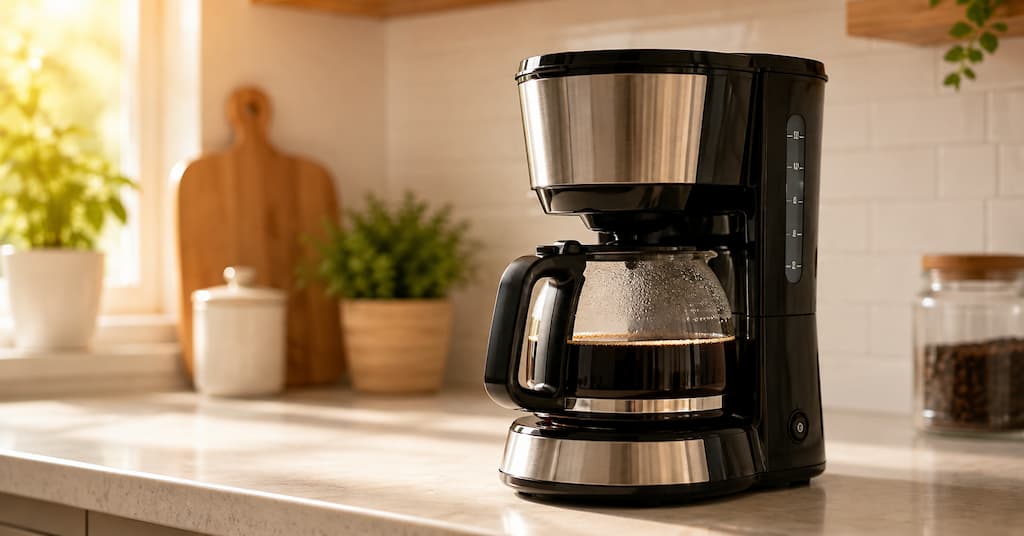
Illustration generated with AI for reference.
When I think about what we run through a coffee maker every day, the water, the cleaner, the residue that gets rinsed out, I don’t think about my mug first.
I think about the drain. Whatever we choose to clean with is going to end up somewhere, and that’s the part most cleaning advice quietly skips over.
That’s a big part of why so many people are quietly moving away from vinegar. But it’s not the only reason.
Key Takeaways
- Skip the vinegar. It stinks, it can corrode rubber seals and gaskets over time, and both Keurig and Nespresso warn it can void your warranty. It isn’t what the pros use.
- Cleaning and descaling are two different jobs. Baking soda cleans coffee oils and residue. Citric acid or a dedicated descaler like Urnex Dezcal is what actually dissolves mineral scale.
- Food-grade citric acid is the eco pick that works. It’s what most commercial descalers are built on, it rinses clean without lingering smell, and a small pouch lasts months.
- Prevention beats descaling. Filtered water, an empty carafe after each brew, and a weekly wipe of the drip tray will cut deep cleans from monthly to about twice a year.
Why so many people are skipping vinegar
Vinegar has had a long run as the default coffee maker cleaner, but two shifts are pulling readers toward alternatives.
The first is smell. Even after three rinse cycles, a lot of people still catch a vinegar note in the next pot of coffee, and once you notice it, you can’t un-notice it.
The second is the warranty question. Keurig, Nespresso, and several newer drip machines now specifically advise against vinegar in their care instructions, and running it through a machine still under warranty is a small but real gamble.
The bigger issue is what vinegar actually does inside your reservoir. The US EPA does not review household ingredients like vinegar for their ability to kill germs, which is why it isn’t registered as a disinfectant.
It removes limescale and some mold but does not reliably kill all bacteria found in coffee maker reservoirs.
NSF’s 2011 household germ study found mold or yeast in half of the reservoirs it sampled, which is why treating vinegar as a one-step ‘clean’ is worth rethinking.
If disinfection is what you’re actually after, that has to be a separate step, which I dig into in my guide to proper natural disinfection.
Cleaning and descaling are not the same thing
This is the mental shift that changes everything about coffee maker maintenance.
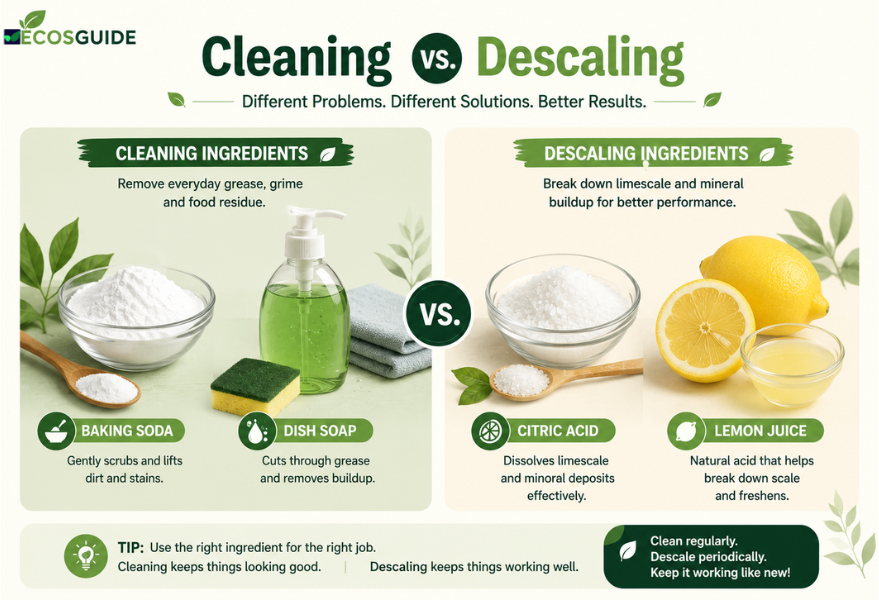
Cleaning a coffee maker removes coffee oils and residue, while descaling dissolves the mineral buildup left behind by hard water, and each job needs a different ingredient.
Baking soda handles the first. An acid, citric acid, lemon juice, or yes, vinegar, handles the second.
Where readers get stuck is trying to make one ingredient do both jobs. Baking soda cannot descale limescale. Its chemistry does not dissolve calcium carbonate, no matter how many cycles you run.
Citric acid can do both jobs at once, which is a big part of why it shows up in nearly every commercial descaler.
Lemon juice leans toward descale, with mild cleaning as a bonus.
Diagnosing which one you’re solving decides the ingredient before anything else. If your coffee tastes flat or your brew time has slowed to a crawl, you probably have a descaling problem.
If your carafe is stained or your machine smells rancid between uses, you have a cleaning problem.
Five ways to clean a coffee maker without vinegar
Here’s what actually works, ranked by how well each method solves the underlying job.
The first method is the one professional cleaners and machine manufacturers use, which is worth knowing before you reach for the second or third.
Method 1: Food-grade citric acid powder (the pro method)
This is my top recommendation for descaling, and it isn’t close.
Dissolve one tablespoon of food-grade citric acid powder in a full carafe of warm water, pour it into the reservoir, and run a single brew cycle.
Then run two full cycles of fresh water to rinse.
That’s the whole method. No smell, no aftertaste, and no warranty risk on any machine documented in manufacturer guides or professional cleaning references.
Citric acid is the active ingredient in most commercial coffee maker descalers, including Keurig Descaling Solution and Urnex Dezcal, which means bulk food-grade citric acid gives the same result at a fraction of the cost.
A one-pound bag of food-grade citric acid runs a few dollars and covers dozens of descaling cycles. Its second life is as a kettle descaler and a dishwasher rinse booster, so a single pantry ingredient can cover four appliances.
If you buy one thing off this article, this is what I’d point you to. My specific pick is in the recommended products section further down.
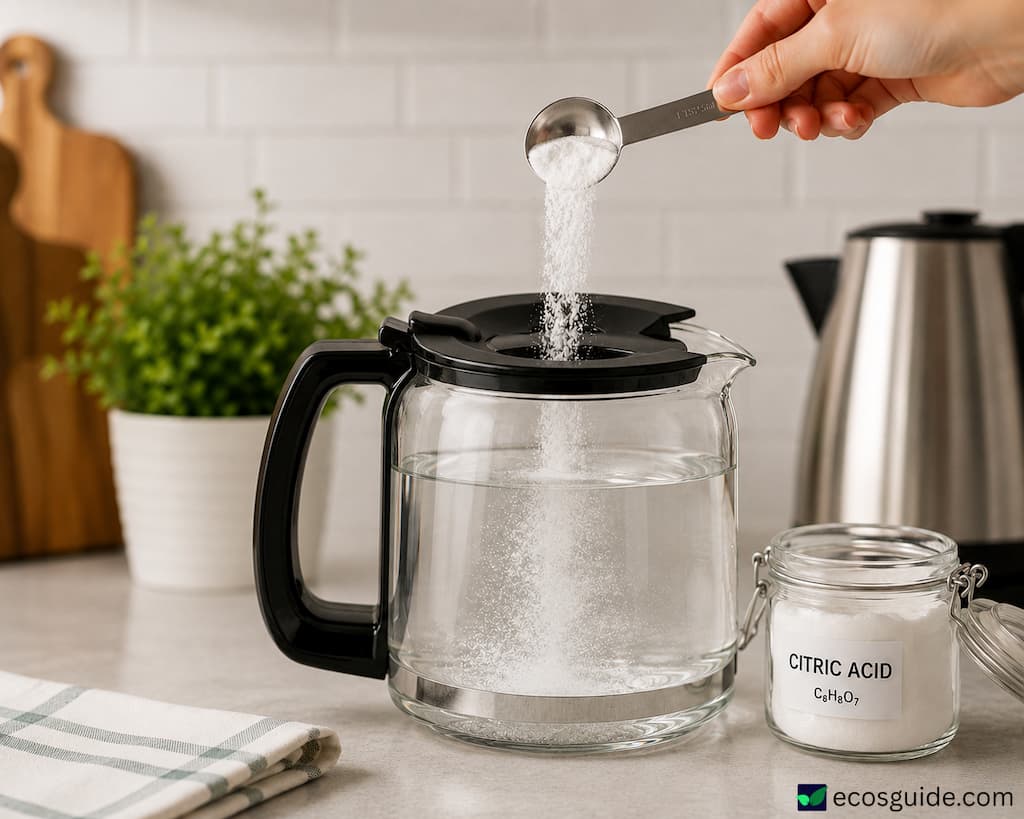
Illustration generated with AI for reference.
Method 2: Lemon juice
If you’d rather not order anything and prefer to work with what’s already in your kitchen, fresh lemon juice is a workable alternative to citric acid.
The ratio is equal parts fresh lemon juice and water, filling the carafe to the top. Run one full brew cycle, then two or three cycles of fresh water.
Sniff the carafe after the second rinse. If you still catch a lemon note, run a third.
Lemon juice is a milder descaler than citric acid powder, and the aftertaste tends to linger a cycle or two longer than you’d expect.
That said, it’s a real option if you have a bag of lemons on the counter and don’t want a specialty purchase. Best for occasional descaling on standard drip machines, not the go-to for Keurig or Nespresso.
Method 3: Baking soda flush (for oils and odor, not limescale)
Baking soda is where a lot of internet advice goes wrong.
Baking soda cleans coffee residue and neutralizes odor but does not descale limescale. For mineral buildup you need an acid, such as citric acid or lemon juice.
Use baking soda when your issue is oil buildup, staining, or a musty smell between uses.
The ratio is a quarter cup of baking soda per full carafe of warm water. Stir until fully dissolved, pour into the reservoir, run one brew cycle, then two rinse cycles.
One safety point that gets missed almost everywhere online: never pause a baking soda cleaning cycle mid-brew.
Unlike vinegar, dissolved baking soda releases carbon dioxide when it meets residual coffee oils and can foam over the top of the reservoir. Let the cycle run through in one go.
Do not combine baking soda with vinegar or lemon juice in the same cycle. The idea that mixing them “kills germs” is a widespread myth.
The two ingredients neutralize each other into salt water and carbon dioxide and clean nothing. If you want the chemistry behind that, my piece on how baking soda actually works walks through it.
Method 4: Dish soap and warm water (daily cleaning for removable parts)
This is the daily rinse that keeps everything else from becoming a bigger job. For the carafe, filter basket, drip tray, and any reusable filter, wash by hand in warm water with a drop of a plant-based dish soap safe for food-contact surfaces. Rinse thoroughly and dry.
Do not use dish soap in the reservoir or the interior tubing. It leaves a film that’s genuinely hard to fully rinse out of the tubes, and you’ll taste it for weeks.
The reason this matters is that coffee oils go rancid quickly, and it’s the rancid oil film that feeds the biofilm the NSF household study picked up on.
A daily rinse of the removable parts is the single easiest habit you can build. Use a soft brush for tight carafe necks, and skip abrasive pads on nonstick or coated interiors.
Method 5: Salt and ice (for glass and stainless steel carafes)
For coffee stains baked into a glass or stainless steel carafe or pot, the physical scrub method works when soaking hasn’t.
Add two tablespoons of coarse salt, a handful of ice cubes, and a small splash of water (or lemon juice for extra lift) to the empty carafe. Swirl vigorously for 30 to 60 seconds.
The ice acts as a physical scrubber, the salt as a mild abrasive, and the combination lifts stains without scratching.
This is Death Wish Coffee’s method, and it works on drip carafes, French press glass, moka pot bases, and stovetop percolators.
To clean a stainless steel coffee pot inside, use a baking soda paste for stains and a salt and ice swirl for a physical scrub, never steel wool, which damages the pot’s protective finish.
If a stain won’t budge, mix two tablespoons of baking soda with a small splash of water into a paste, spread it across the interior, and let it sit for 15 minutes before the salt and ice swirl.
Rinse thoroughly. Steel wool scratches through the passivation layer and creates rust spots that then hold coffee residue permanently.
How to clean a Keurig, Nespresso, and other machine types
Not every method above is warranty-safe on every machine. Keurig, Nespresso, and some newer drip machines specifically advise against vinegar, so use food-grade citric acid or the manufacturer’s descaling tablet instead to stay within warranty.
Here’s the working table by machine type.
| Machine type | Best non-vinegar method | Watch-out |
| Keurig | One tablespoon citric acid in a full reservoir of warm water. Cycle until the “add water” light comes on, then two or three rinse cycles. | Vinegar is specifically advised against by Keurig. |
| Nespresso | Same citric acid method as Keurig. Nespresso’s own descaling solution is also citric-acid-based. | Do not use vinegar. |
| Mr. Coffee (drip) | Citric acid or lemon juice for descaling. Baking soda flush for the carafe and reservoir smells. | Check the manual if still under warranty. |
| Standard drip machines | Any of the five methods. Citric acid is the strongest. | Check the manual if still under warranty. |
| French press | Salt and ice swirl for the glass carafe. Baking soda paste on the mesh filter. | The glass and mesh do not belong in the dishwasher; seals crack. |
| Moka pot or stovetop percolator | Citric acid method on the water chamber. Salt and ice swirl for the upper chamber. | Never use soap on an aluminum moka pot. It strips the seasoning that keeps coffee tasting right. |
| Chemex | Hot water rinse after each use. Salt and ice for stains. | Never use soap. The glass retains flavor. |
The pattern to notice is that citric acid is warranty-safe across the widest range of machines, which is another reason it’s my default recommendation.
How often should you deep clean your coffee maker?
Deep clean a coffee maker once a month if you brew daily, or every two to three months for lighter use, more often in hard-water areas.
On top of that, a quick daily rinse of the removable parts and a weekly dish soap wash keeps the deep clean from becoming an emergency.
Hard-water areas need more frequent descaling because there’s more calcium and magnesium to build up. Municipal water above 120 parts per million calcium carbonate counts as hard, which covers most US regions west of the Mississippi and much of Southern England.
If you notice your brew time getting longer or your coffee tasting flatter, that’s usually scale, not the beans, and it’s time for a citric acid cycle.
How to keep coffee maker buildup from coming back
Cleaning less often starts with what you put into the machine in the first place. KitchenAid and other manufacturers advise against using distilled water in coffee makers because it can leach metal ions from internal components, so filtered water is the correct choice.
A pitcher filter, an under-sink filter, or a countertop unit all work. The point is to reduce mineral content without stripping the water entirely.
A few habits do most of the work. Empty the reservoir daily where you can, and leave the lid open between uses so it dries out; mold and yeast need standing water to grow.
Rinse the carafe after every brew, not just before the next one.
Switch to a stainless steel mesh filter instead of paper, and you’ll rinse it every time, which becomes part of the daily habit, and you cut paper waste out of the cycle.
Keep the citric acid cycle on a monthly rhythm. Chasing buildup is harder than staying ahead of it.
The drain problem no one talks about
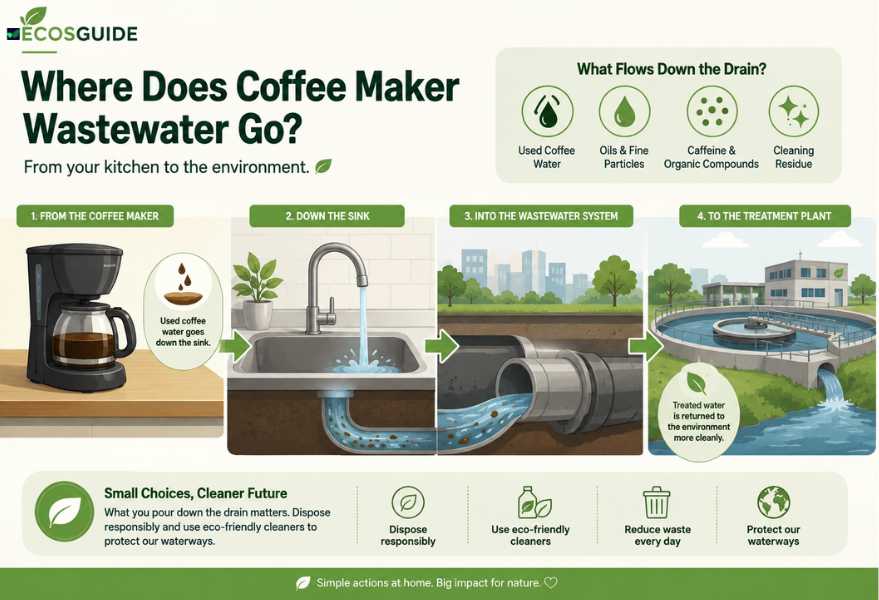
Every method above ends the same way: you rinse the machine, and that rinse water goes down the drain.
It’s the piece of coffee maker cleaning advice I almost never see written down anywhere, and it’s what I keep coming back to every time I write one of these guides.
Vinegar is not perfect, but it’s relatively benign once it hits a waterway. The same is not true for a lot of commercial descalers marketed for coffee machines.
Read a few ingredient panels and you’ll find sulfamic acid, phosphoric acid, unlabeled surfactants, and synthetic fragrance blends that were never designed to be safe once they’re past your drain.
They descale quickly, which is why they’re popular. They also go straight through your rinse cycles into the wastewater system, into treatment facilities that weren’t necessarily built to handle them, and downstream from there.
Citric acid, lemon juice, and baking soda break down harmlessly. That’s the whole point. It’s not about whether the coffee will taste of what you cleaned with. Modern rinse cycles handle that. It’s about what leaves the machine after the coffee is long gone.
This is the part I keep coming back to. Small choices at the reservoir add up, because the drain doesn’t have a filter for what we put through it.
And it’s why the ingredient in the reservoir matters more than a shortcut on the label. Which brings me to the next problem.
The “natural” descalers that aren’t
Here’s the pattern to watch for. A descaler priced at eight or ten dollars for a small bottle, front label reading “eco” or “natural” or “green,” and the ingredient panel showing citric acid and water. That’s it.
Citric acid and water at roughly a dollar an ounce, sometimes more.
Bulk food-grade citric acid, the same ingredient, runs closer to 15 to 20 cents an ounce at home-user volumes. That’s occasionally a tenfold markup for the packaging and the marketing on the outside of the bottle.
Refill packaging that cuts container waste is worth it too. A genuinely proprietary enzyme blend or a specialty surfactant with a real function that citric acid can’t do is fair game.
What isn’t worth paying for is a paper wrap that says “natural” over an ingredient panel identical to a bulk bag on the same site.
Read the panel first, then decide. If you’re descaling coffee makers, kettles, and running the occasional dishwasher rinse, bulk citric acid pays for itself in the first month.
The best coffee maker cleaners you can buy
Here’s what to look for when you shop: a citric-acid-based ingredient list you can actually read on the label, transparent labeling, minimal or recyclable packaging, no synthetic fragrance, and no phosphates.
If a product hides its ingredients, it stays on the shelf.
A note before we start: I don’t have a coffee maker in my kitchen. I make my morning coffee with a kettle and a French press.
This guide is research-backed, cross-checked against manufacturer instructions from Keurig, Nespresso, and Urnex, plus NSF and EPA sources. My recommendations come from ingredient analysis and reviews, not personal testing on a machine I don’t own.
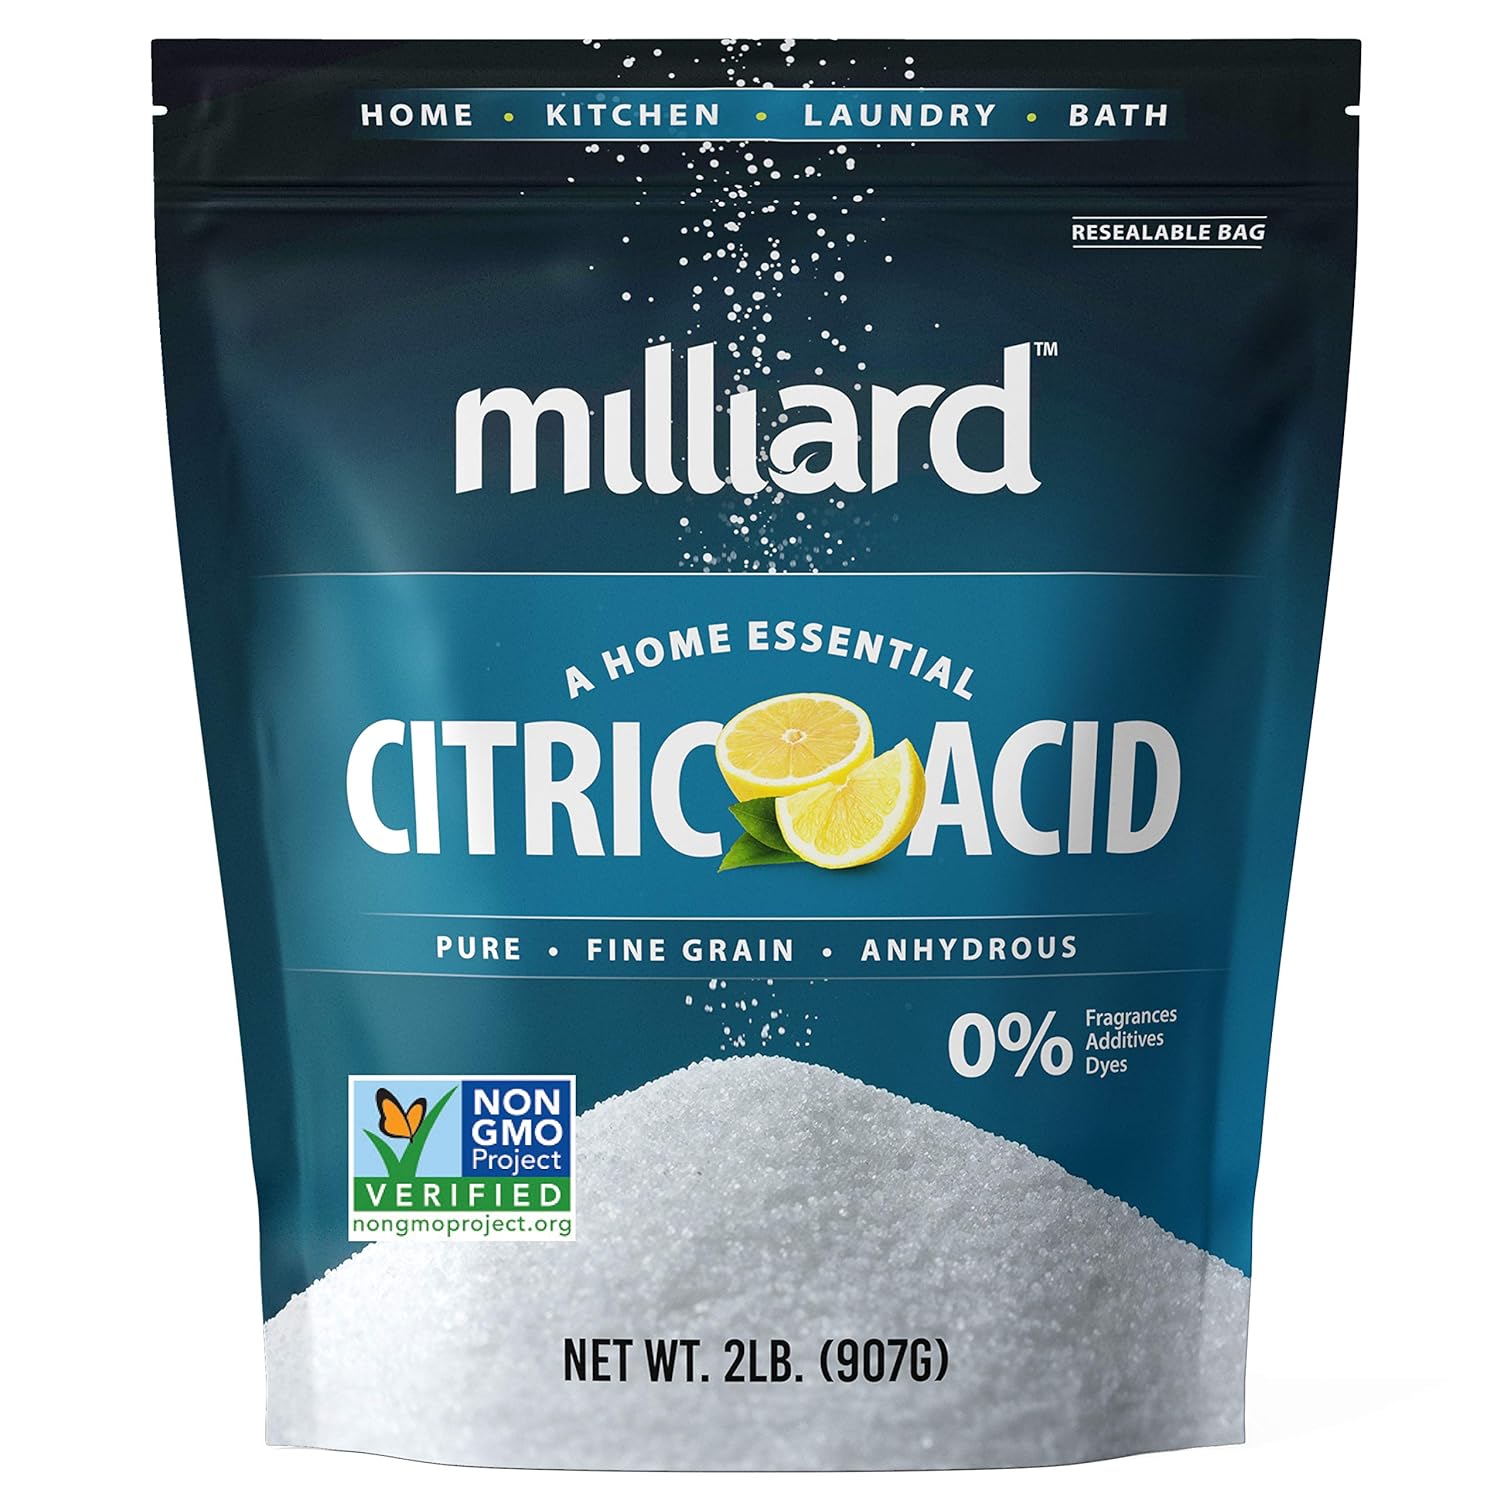
If you buy one thing from this article, buy a food-grade citric acid powder like Milliard or Anthony’s. Single ingredient. Food-grade means it’s certified safe for consumption, so it’s fine to run through a coffee maker, a kettle, or a dishwasher rinse.
A one-pound bag lasts most households a year of monthly descaling cycles, and works out to a fraction of the per-cycle cost of any pre-packaged commercial descaler.
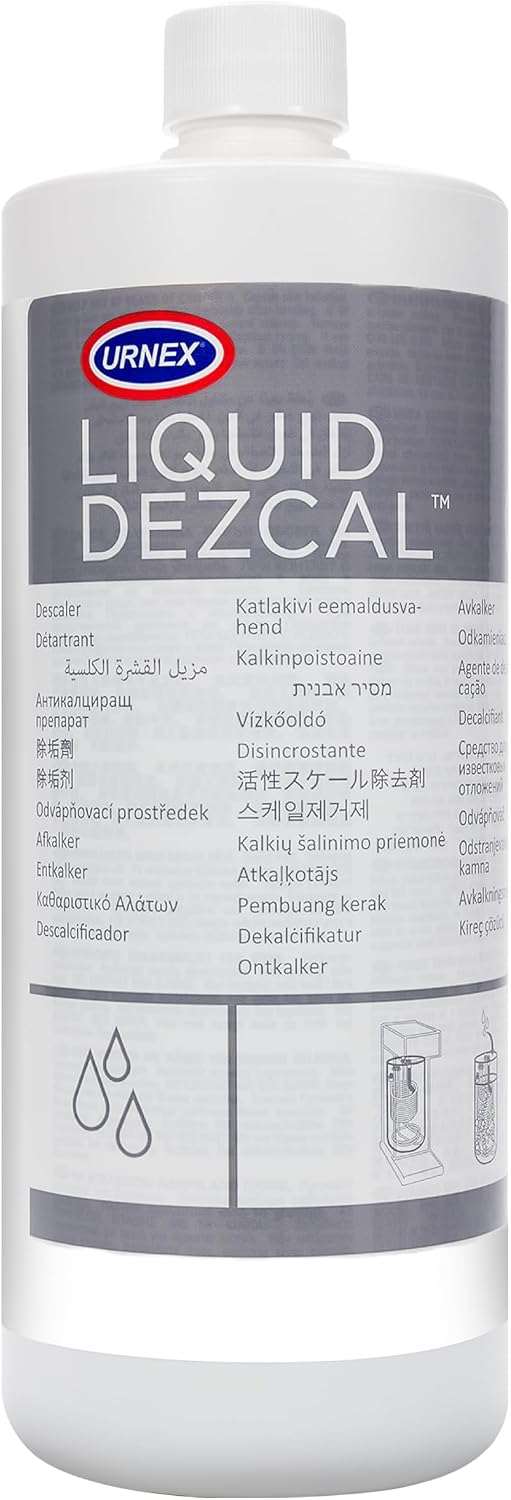
If measuring powder isn’t your thing, Urnex Dezcal is my recommendation. It’s a professional-grade descaler used in cafes, citric-acid-based, and machine-agnostic across drip, espresso, and pod machines.
I haven’t tested this one in my own kitchen, but based on its ingredient panel and its long-standing use in professional espresso environments, it checks the right boxes.
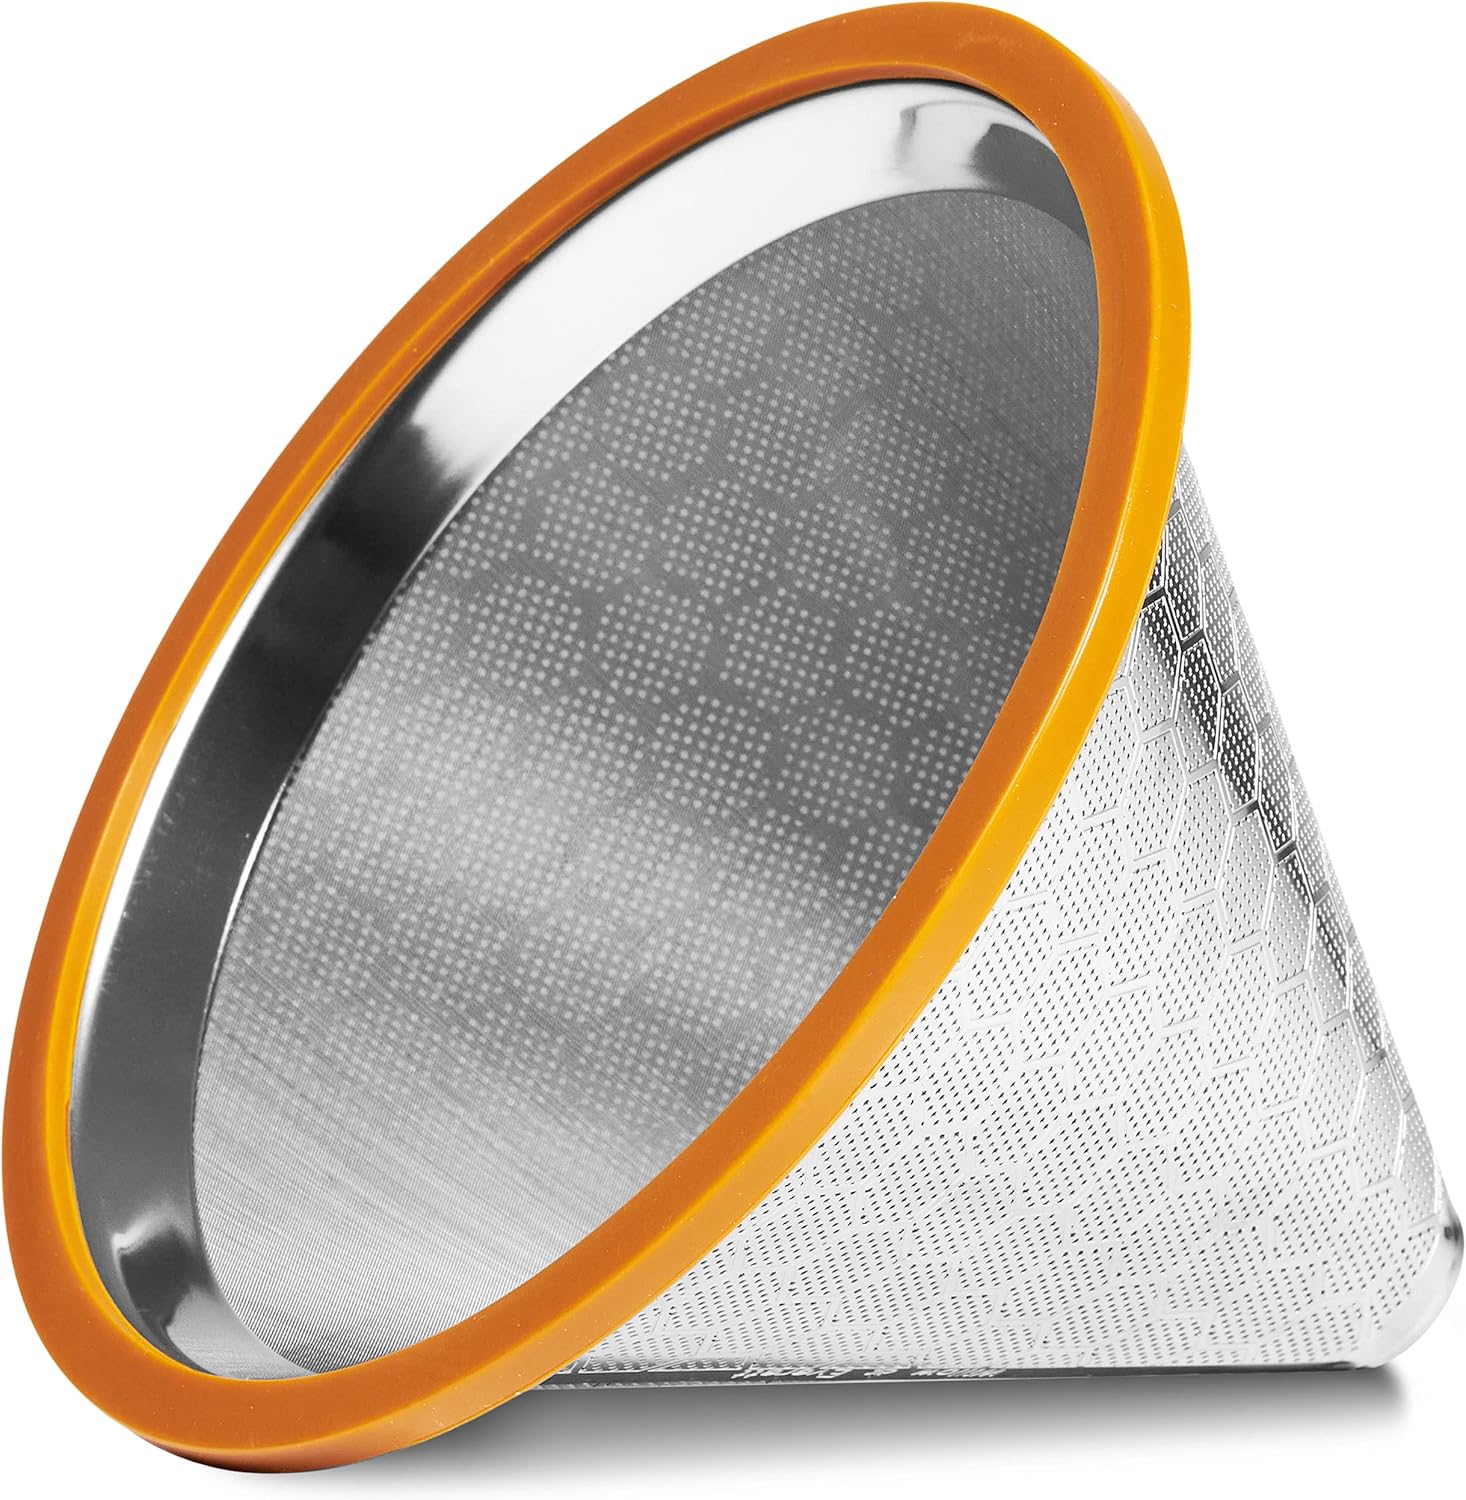
A stainless steel mesh reusable coffee filter sized to your machine, whether Keurig, drip basket, or pour-over cone, cuts paper waste out of the daily brew cycle and ties directly into the prevention habits earlier in the article.
Pays for itself in a couple of months of daily use, and the daily rinse becomes part of the same habit you’re already building.
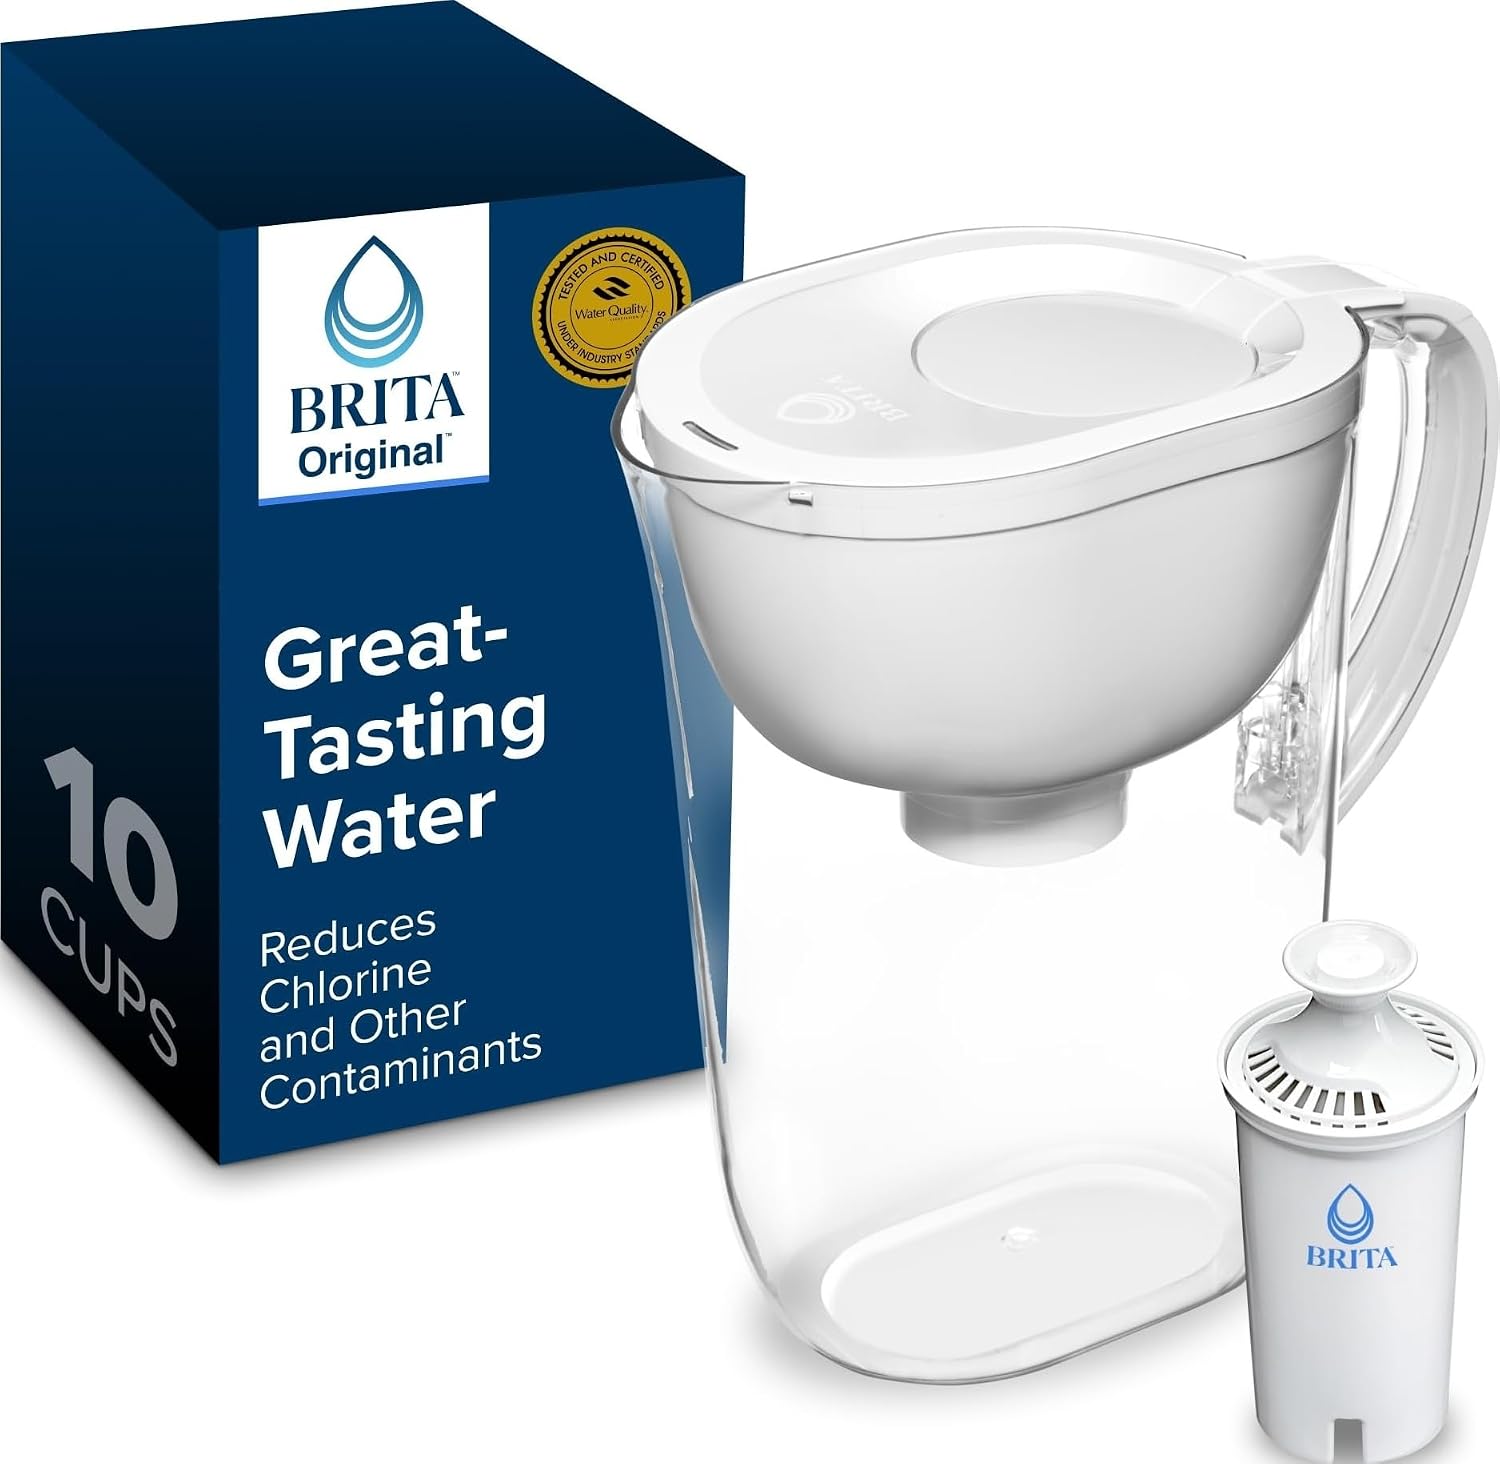
If your water is on the harder side, a countertop filter pitcher reduces mineral load before it reaches the machine, which means less frequent descaling.
Any pitcher that filters for chlorine and hardness will help; the ones with stainless steel or partially recyclable construction get a bonus point from me.
Small kitchen choices, real change
The short version: citric acid does the heavy lifting on limescale, baking soda handles the residue and the smells, and the drain is why the ingredient you choose actually matters.
Small choices at the reservoir add up, because the drain doesn’t have a filter for what we put through it. Every swap counts, even the boring ones.
If you want to start with the single ingredient I’d point most readers to for coffee makers, kettles, and dishwasher rinses alike, that food-grade citric acid pick above is where I’d start.
And if the kettle sitting next to your coffee maker is next on the list, the plastic-free electric kettles we recommend are a natural next step.
- Why so many people are skipping vinegar
- Cleaning and descaling are not the same thing
- Five ways to clean a coffee maker without vinegar
- How to clean a Keurig, Nespresso, and other machine types
- How often should you deep clean your coffee maker?
- How to keep coffee maker buildup from coming back
- The drain problem no one talks about
- The “natural” descalers that aren’t
- The best coffee maker cleaners you can buy
- Small kitchen choices, real change
- Frequently Asked Questions
Find More Tips At:


Frequently Asked Questions
Can I use baking soda alone to clean my coffee maker?
Baking soda alone will clean coffee oils and residue but won’t touch limescale, so it’s only half a solution for a machine that hasn’t been descaled recently. Use baking soda for staining, smell, or oil buildup, and use citric acid or lemon juice for mineral scale. If both are issues, run the baking soda cycle first, rinse fully, then run the citric acid cycle.
Is citric acid safe to run through a coffee maker?
Yes, food-grade citric acid is safe to run through any coffee maker, including Keurig, Nespresso, and standard drip machines. It’s the active ingredient in most manufacturer-branded descalers, including Keurig Descaling Solution and Urnex Dezcal. Bulk food-grade powder gives you the same result at a fraction of the cost.
How do I clean a Keurig coffee maker without vinegar?
To clean a Keurig coffee maker without vinegar, dissolve one tablespoon of food-grade citric acid in a full reservoir of warm water and run brew cycles (with no pod) until the “add water” light comes on. Then refill with fresh water and run two or three rinse cycles until the water runs clear. This method is warranty-safe.
How do I remove coffee stains from a stainless steel coffee pot inside?
Mix two tablespoons of baking soda with a small splash of water into a paste, spread it across the stained interior of the stainless steel coffee pot, and let it sit for 15 minutes. Then add two tablespoons of coarse salt and a handful of ice and swirl vigorously for 30 to 60 seconds to physically lift the stain. Rinse thoroughly. Never use steel wool.
How often should I deep clean my coffee maker?
Deep clean monthly if you brew daily, or every two to three months for lighter use. Hard-water areas (above 120 parts per million calcium carbonate) need more frequent descaling. A daily rinse of the removable parts and a weekly wash keeps the deep clean simple.
Does vinegar actually kill mold in a coffee maker?
Vinegar is not registered by the US EPA as a disinfectant, so while it removes limescale and some visible mold, it does not reliably kill all bacteria in a coffee maker reservoir. Food-grade citric acid or a citric-acid-based descaler is the more reliable choice for regular descaling, and if disinfection is the priority, a dedicated method is needed.
