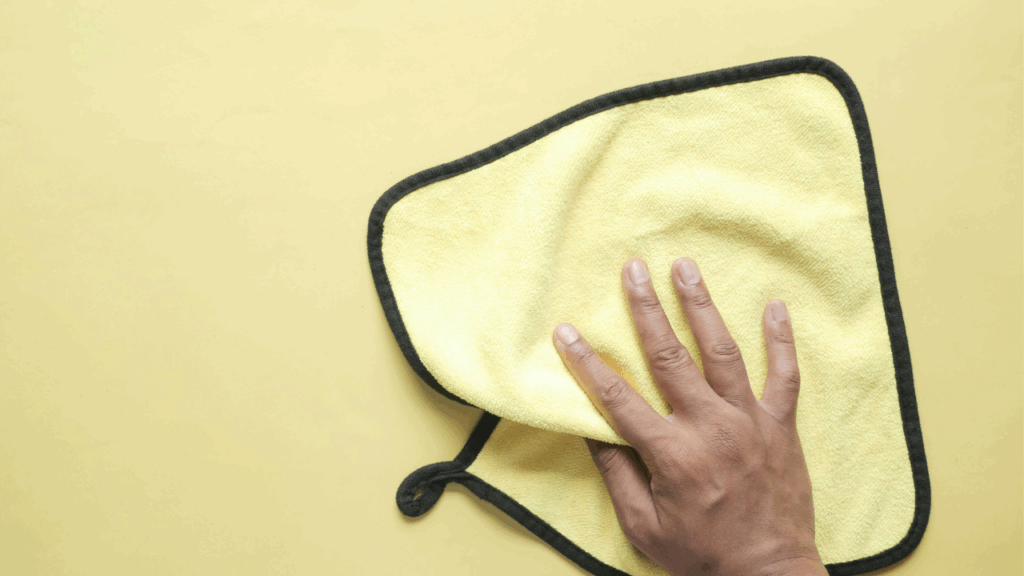
To clean a microfiber cloth, wash it separately in warm (not hot) water with a small amount of fragrance-free detergent.
Skip fabric softener, bleach, and dryer sheets entirely. Then air-dry or tumble on low.
That simple routine keeps the tiny fibers free to grab dirt instead of smearing it around.
The real trick is washing them without ruining them, because the same heat and additives that feel like a deeper clean are exactly what destroy a microfiber cloth’s grip.

I’m Hajar, and I started EcosGuide because I believe the small choices we make at the kitchen sink ripple outward.
With microfiber, that is truer than most people realize. These cloths are made of plastic, and how you wash them quietly decides how much of that plastic ends up in our water.
Once you know how to clean microfiber cloth properly, the rest is easy.
So caring for them well is not only about saving the cloth. We will come back to that.
Key Takeaways
- Wash microfiber separately in warm (not hot) water with a small amount of fragrance-free detergent. Skip fabric softener, bleach, and dryer sheets, since they coat the fibers and destroy their grip.
- Air-dry or tumble on low heat. High heat melts the synthetic fibers and ruins the cloth, while air-drying also sheds fewer plastic fibers into the water.
- Microfiber is made of plastic, so every wash sheds microfibers. Washing in cool water and full loads, air-drying, and using a fiber-catching wash bag all reduce how much ends up in waterways.
- A musty smell means trapped moisture, not too little soap. Add a little white vinegar to the wash, dry the cloth fully, and never store it damp.
What Makes Microfiber Different?
Microfiber is a synthetic fabric made from a blend of polyester and polyamide (nylon), with fibers many times finer than a human hair.
That fineness is what lets it trap dust, grease, and bacteria that cotton simply pushes around.
Each strand is split into countless tiny wedge-shaped fibers that work like microscopic hooks, reaching into the texture of a surface and lifting particles up instead of smearing them sideways.
As ScienceDirect’s overview of microfiber notes, those filaments are roughly a hundred times finer than a human hair, which is what gives the fabric its enormous surface area.
The fibers also carry a slight static charge, so dust clings to them, and they hold several times their own weight in water.
That grabbing power is measurable. In hospital testing summarized by Infection Control Today, fine microfiber removed up to 99 percent of bacteria from a surface using only water, compared with about 30 percent for cotton.
It does not kill germs the way a disinfectant does. It physically pulls them off the surface and traps them in the fibers, which is exactly why washing the cloth properly matters so much.
One honest thing worth naming early: microfiber is, by definition, a plastic fabric. That is not a reason to throw yours away, but it does change how you should wash and dry it, as we will see.
Microfiber vs. Cotton
| Feature | Microfiber | Cotton |
| Bacteria removed with water only | Up to 99% | About 30% |
| Cleaning action | Lifts and traps particles | Pushes dirt around |
| Lint | Lint-free | Sheds lint |
| Shedding when washed | Sheds plastic microfibers | Sheds natural fibers |
| Best for | Screens, glass, dusting, polishing | Heavy spills, drying |
What You’ll Need

You almost certainly have everything already. For a normal refresh of lightly used cloths, gather:
- A basin, sink, or bucket
- Warm water (around 104 degrees Fahrenheit, never boiling)
- A fragrance-free, mild powder detergent or a drop of plain dish soap
For cloths that are greasy, stiff, or starting to smell, add:
- White vinegar (a natural deodorizer and grease-cutter)
- A second clean basin for a vinegar soak
Notice what is not on either list: fabric softener, bleach, and scented detergents, the three things that quietly ruin microfiber.
How to Wash a Microfiber Cloth by Hand
Hand-washing is the gentlest method and the one I reach for with my favorite cloths. It uses very little water and no machine wear, and it takes about ten minutes of mostly waiting.
- Shake each cloth outside or over a bin to knock off loose dust and crumbs before they turn to mud in the water.
- Fill your basin with warm water and add a small amount of fragrance-free detergent. A little goes a long way, since too much soap leaves residue that dulls the fibers.
- Submerge the cloths and gently swish them around. Let them soak for five to ten minutes so the trapped grime loosens on its own.
- Work the dirtiest spots between your fingers. Rub microfiber against microfiber rather than scrubbing it on a hard surface, which can fray the fibers.
- Rinse thoroughly under clean running water until it runs clear and the cloth no longer feels soapy.
- Wring gently and lay flat or hang to dry. Do not twist them hard, which stresses the weave over time.
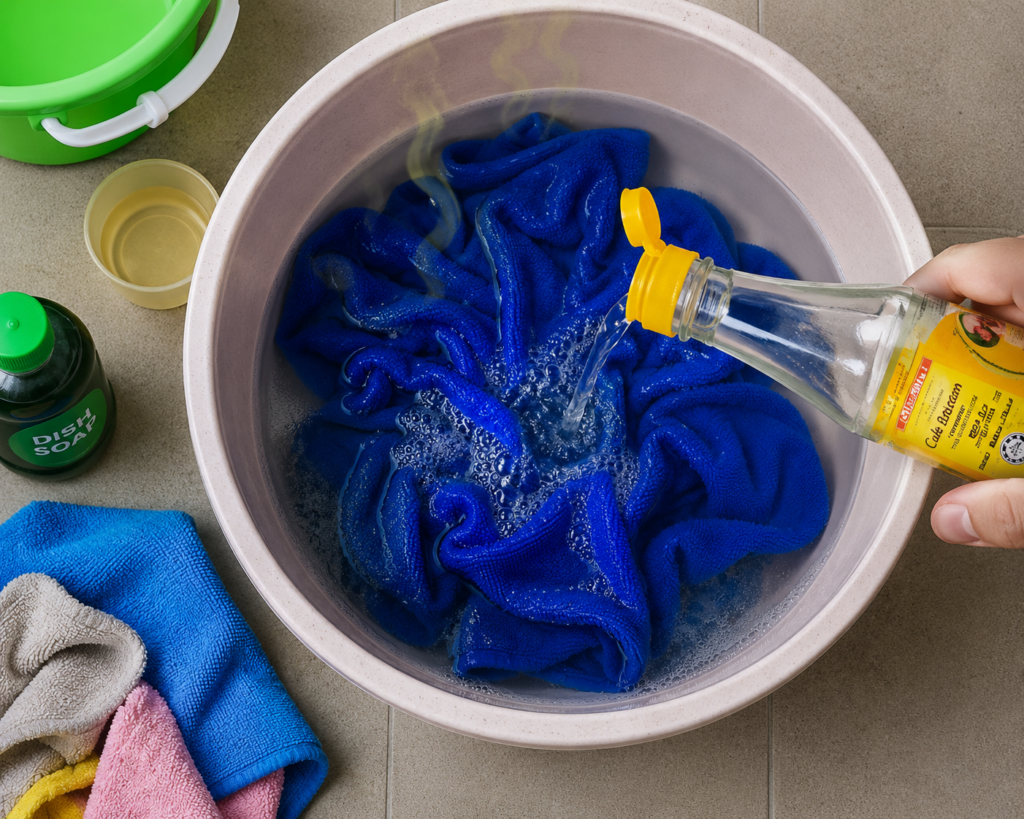
For stubborn grease or a musty smell, add a vinegar boost: soak the cloths for fifteen minutes in a basin of warm water with about a quarter cup of white vinegar before the detergent wash.
The mild acid cuts through oily film and neutralizes odor without coating the fibers the way a scented product would.
Can You Wash Microfiber Cloths in the Machine?
Microfiber cloths can be machine-washed on a gentle, cool-to-warm cycle with fragrance-free detergent.
They should always be washed separately from cotton items, which shed lint that clogs the fibers.
Most of us machine-wash, so here is how to do it without wrecking them. Put your microfiber in its own load, or at least keep it away from towels, flannel, and anything that produces lint.
Choose a gentle or delicate cycle, set the temperature to cold or warm rather than hot, use a fragrance-free liquid detergent, and skip the softener and dryer sheets.
One small habit pays off twice here: washing in full (but not overstuffed) loads of cool water is gentler on the cloth and releases fewer stray fibers into the water.
We will look at why that second part matters in the eco section.
The Do’s and Don’ts of Cleaning Microfiber
Microfiber is forgiving in daily use but fussy in the wash. Get these few rules right and a single cloth can last for years.
The golden rules:
- Wash microfiber on its own, away from lint-shedding cotton.
- Keep the water warm, not hot. Around 104 degrees Fahrenheit is plenty.
- Use a small amount of fragrance-free detergent, or just dish soap and water.
- Air-dry when you can, or tumble on low or no heat.
Never do these:
- Never use fabric softener. Fabric softener is the single biggest mistake with microfiber, because it coats the fibers in a waxy residue that destroys their ability to grab dirt.
- Never use bleach, which breaks down the synthetic fibers and shortens the cloth’s life.
- Never use dryer sheets, which leave the same grip-killing film as softener.
- Never use high heat. Hot water and a hot dryer can melt and warp the fibers.
Here is the part I love: the two gentlest rules, warm water and air-drying, are also the two biggest levers for reducing plastic shedding.
So the routine that is best for the cloth is also the one that is kindest to the water it drains into. Better for the cloth and better for the water, at the same time.
Why Do My Microfiber Cloths Smell?
If your cloths come out of the wash smelling musty, the culprit is almost always trapped moisture and leftover residue, not a lack of scrubbing.
Microfiber holds water deep in its fibers, and when a damp cloth sits balled up, mildew sets in fast.
To remove odor from microfiber cloths, add about a tablespoon of white vinegar to the wash and let them dry fully, ideally in sunlight, since trapped moisture is what causes the musty smell.
Sunlight helps twice over, drying them through and naturally freshening the fibers.
If you want to sanitize a cloth that has been wiping raw-food surfaces, reach for a natural disinfectant rather than a heavy scented spray, which only adds the kind of residue you are trying to avoid.
And the prevention is even easier: never leave a wet cloth in a heap. Hang it to dry between uses.
Are Microfiber Cloths Actually Eco-Friendly?
One well-cared-for microfiber cloth replaces hundreds of paper towels over its life, and it cleans well with just water, which means fewer bottles of chemical spray too.
That is a real win. The catch nobody mentions is that every wash sheds tiny plastic fibers down the drain.
Here is how to keep that to a minimum, and, if you would rather skip plastic entirely, what to use instead.
Yes, microfiber cloths shed microplastics. Because they are made of polyester and polyamide, both plastics, every wash releases tiny fibers into wastewater.
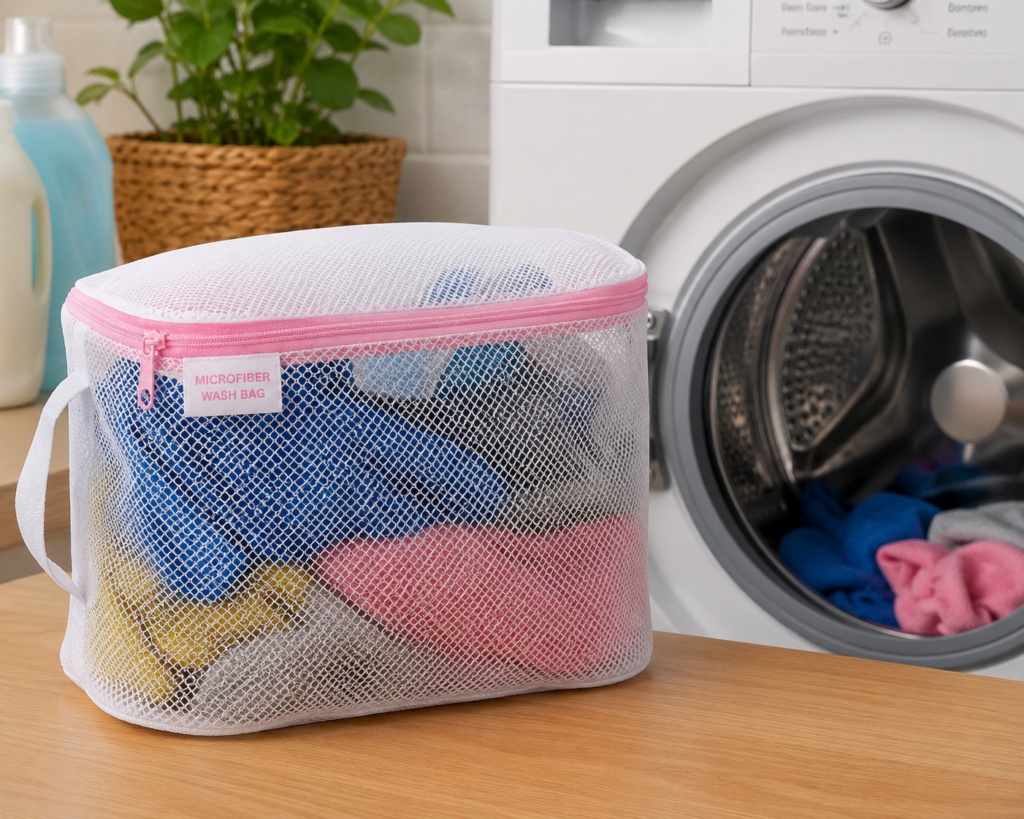
Washing in cool water, in full loads, and air-drying reduces shedding, and a fiber-catching wash bag captures most of the rest.
Washing synthetic fabric is one of the largest sources of ocean microplastics.
The exact count per load varies a lot by study and fabric, so it is fairest to talk in ranges: one peer-reviewed analysis published in Scientific Reports estimated that washing synthetic textiles can release somewhere between 640,000 and 1.5 million microfibers per kilogram of fabric, depending on the material and conditions.
These fibers are small enough to slip through many wastewater filters and end up in rivers and the sea.
This is the part of EcosGuide that is closest to my heart, so I want to be honest rather than comforting.
When I think about what goes down our drains every day, I do not picture chemistry. I picture water, and where it ends up, and the creatures living in it.
That is the whole reason I would rather tell you the trade-off than pretend it is not there.
The good news is that the levers that reduce shedding are mostly things you are already doing:
- Wash in cool or warm water, not hot. Cooler, shorter cycles measurably reduce how many fibers break loose.
- Run full loads. More fabric and less water movement per item means less abrasion and less shedding per cloth.
- Air-dry instead of tumble-drying, which avoids both heat damage and dryer-driven fiber loss.
- Choose liquid detergent over powder, which is slightly less abrasive on the fibers.
- Add a fiber-catching wash bag to trap the fibers that do break loose.
When to Keep Microfiber, and When to Switch
Microfiber earns its place where nothing else performs as well: screens, glass, mirrors, stainless steel, and dry dusting, where it lifts particles with just water and leaves no streaks.
For wet kitchen wiping, where a cloth gets rinsed constantly, a plant-based option can do the job with no plastic at all.
If you would rather move away from synthetics for those tasks, a plastic-free dish scrubber and a bamboo dish brush are two reusable swaps I like.
For floors, my guide to eco-friendly Swiffer alternatives covers what to use instead.
Keep the microfiber you own, care for it well, and choose plant-based where it makes sense. That balance does more good than tossing perfectly usable cloths.
What to look for if you are buying: a real fiber-catching ability, a fragrance-free wash routine, durable reusability, and the correct 80/20 blend (80 percent polyester, 20 percent polyamide), which is the ratio that cleans and lasts best. Here are the three things I would reach for, in order.
Eco-Friendly Products for Microfiber Cloth Care
A fiber-catching wash bag is a finely woven laundry bag that traps shed microfibers inside it before they can reach the drain.
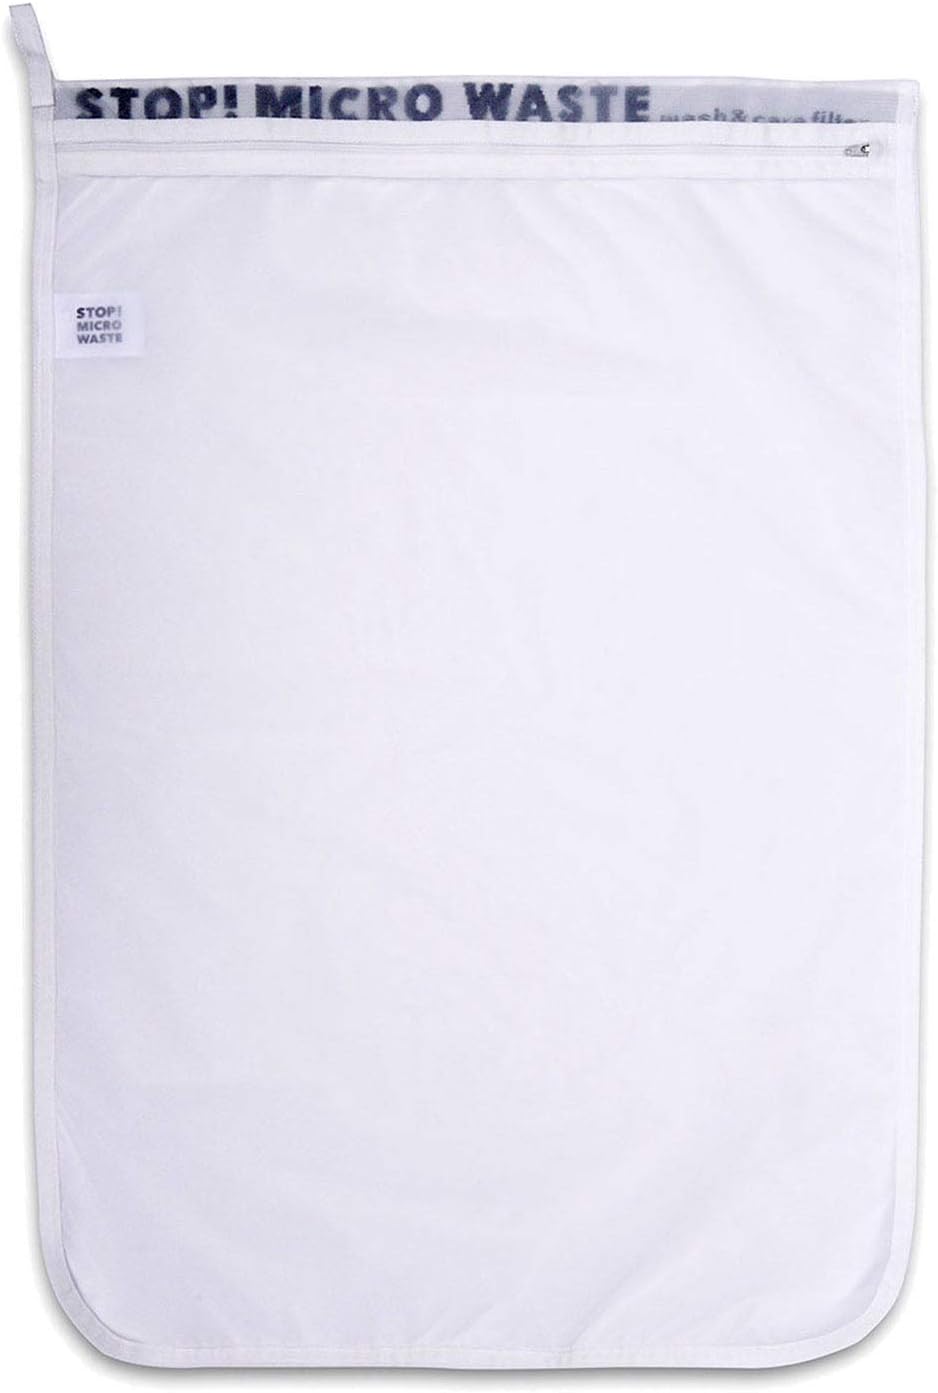
The Guppyfriend Washing Bag is the one most worth knowing, because its claim is independently backed.
According to testing by the Fraunhofer Institute UMSICHT, summarized on the Guppyfriend information page, fully synthetic textiles shed on average 86 percent fewer fibers when washed in the bag.
It also retains the broken fibers, so you can throw them in the trash instead of the waterway.
You put your cloths inside, zip it, wash as normal, and clear the collected lint from the corners afterward. For anyone staying with microfiber, this is the single most direct way to cut your impact.
Wool dryer balls are reusable balls of compressed wool that cut static and speed up drying without any of the grip-killing residue that dryer sheets leave behind.
They are the microfiber-safe answer to static cling, and a set lasts for hundreds of loads, so they quietly replace box after box of single-use sheets.
If you do tumble-dry your cloths on low, toss a couple of these in and skip the sheets entirely.
When a cloth turns rough, scratchy, or stops grabbing no matter how you wash it, it is worn out, and the right replacement is an 80/20 microfiber cloth set, meaning 80 percent polyester and 20 percent polyamide.
That blend has the density and absorbency that cheaper, thinner cloths lack, which is why it lasts longer and cleans better per cloth. Buying the correct ratio once beats replacing flimsy cloths every few months.
I have not tested every single one of these in my own kitchen, but based on the materials and the reviews from eco-minded buyers, they check the right boxes.
Choosing a fragrance-free, EPA Safer Choice certified detergent for your washes rounds out the routine, since that label confirms the formula leaves out the harsher ingredients you do not want heading down the drain.
Drying Tips for Microfiber
Do not use high dryer heat on microfiber, because the synthetic fibers melt and lose their grip. Air-drying or low heat keeps them effective and sheds fewer fibers.
Air-drying is the default I recommend, and not only for the cloth’s sake.
Hanging a cloth to dry avoids heat damage and the extra fiber loss that tumbling causes, so it is the eco-and-fiber-saving choice in one move.
Lay cloths flat or hang them where air can circulate, and let them dry fully before folding them away. In a hurry, a low or no-heat setting with a couple of wool dryer balls works without scorching the fibers.
Storage and Lifespan
Store microfiber clean and completely dry, in a drawer or basket where air can reach it, never damp and never balled up with other laundry.
A dry, breathable spot is what keeps mildew and odor from creeping back in.
It also helps to keep a small rotation. Six to eight cloths in regular use means each one gets washed less often and lasts longer.
Color-coding by job (one set for glass, one for surfaces, one for floors) keeps grease and grit from cross-contaminating the cloths you use on shiny surfaces.
Replace a cloth when it turns stiff or scratchy and no longer grabs after a proper wash, and when you do, choose that 80/20 blend so the replacement actually outlasts the last one.
If you use a microfiber cloth for tougher kitchen jobs like wiping down a hob, my guide to cleaning your gas cooker walks through the safe way to cut grease there.
And for your reusable wooden tools, caring for your wooden kitchen utensils rounds out the set of low-waste habits.
Watch It in Action
If you would rather see the soak-and-refresh method than read it, the short before-and-after video below walks through the whole routine from grimy cloth to like-new.

Small Kitchen Choices, Real Change
I used to ruin these cloths all the time, softener, hot dryer, the works, and then wonder why they smeared everything.
The fix turned out to be gentler, not harder: warm water, no softener, a full dry. Caring for a microfiber cloth this way is not only about making it last.
It is about fewer fibers slipping down the drain and fewer paper towels in the bin, which is the kind of small, steady choice the kitchen is full of.
If you take one thing from this, let it be that the gentlest routine is also the greenest one. And if you are ready to leave synthetics behind for some jobs, my roundup of eco-friendly Swiffer alternatives is a good next step.
- Microfiber vs. Cotton
- What You’ll Need
- How to Wash a Microfiber Cloth by Hand
- The Do’s and Don’ts of Cleaning Microfiber
- Why Do My Microfiber Cloths Smell?
- Are Microfiber Cloths Actually Eco-Friendly?
- Eco-Friendly Products for Microfiber Cloth Care
- Drying Tips for Microfiber
- Storage and Lifespan
- Watch It in Action
- Small Kitchen Choices, Real Change
- Frequently Asked Questions
Find More Tips At:


Frequently Asked Questions
Can you wash and reuse microfiber cloths?
Yes, that is the whole point of them. A good microfiber cloth can be washed and reused hundreds of times if you keep it away from fabric softener, bleach, and high heat. Treated well, one cloth replaces a long stream of paper towels.
How often should you wash microfiber cloths?
Microfiber cloths should be washed after about three light uses, or sooner if they have been used on heavy grime, grease, or anything raw. The fibers hold onto what they pick up, so a cloth that looks clean can still be carrying dirt. When in doubt, wash it, but always let it dry fully first if you cannot wash it right away.
Why do my microfiber cloths smell even after washing?
The smell is almost always trapped moisture and leftover detergent residue turning to mildew, not a cloth that needs more soap. Add a tablespoon of white vinegar to the wash, then dry the cloths completely, ideally in sunlight. Never store them damp or balled up, which is what causes the musty smell in the first place.
Can you put microfiber cloths in the dryer?
Yes, but only on low or no heat. High heat melts the synthetic fibers and ruins their grip, so a hot dryer does more harm than a dirty cloth ever could. Wool dryer balls beat dryer sheets here, since sheets leave a residue that dulls the fibers. Air-drying is gentler still.
Do microfiber cloths shed microplastics?
Yes. Because they are made of polyester and polyamide, every wash releases tiny plastic fibers into wastewater. You can reduce it by washing in cool water and full loads, air-drying instead of tumble-drying, and using a fiber-catching wash bag that traps most of the loose fibers before they reach the drain.
Can you wash microfiber cloths with other towels?
No, and this is a common reason cloths stop working. Cotton towels shed lint that lodges in the microfiber and clogs the fibers that do the cleaning. Wash microfiber separately, or at least keep it away from anything cotton or fleece.
Is it safe to boil microfiber cloths?
No. Boiling and other high heat melts the synthetic fibers and permanently damages the cloth. To sanitize, stick to a warm wash (around 104 degrees Fahrenheit) with a little white vinegar, and dry the cloth fully in sunlight if you can.