To clean a stainless steel kettle, fill it with equal parts water and white vinegar, or stir one to two tablespoons of citric acid into a full kettle.
Then bring it to a boil and let it sit for about 20 minutes. Pour the solution out, scrub any soft spots gently, rinse well, and boil one or two batches of fresh water before your next cup.
That is how to clean stainless steel kettle naturally, with no harsh chemicals. It removes limescale naturally.
The payoff is bigger than a shiny kettle: a descaled one boils faster, uses less electricity, and lasts years longer.

I’m Hajar, and I run EcosGuide. For a long time I thought a crusty kettle was purely cosmetic, something I could shove to the back of the counter and forget.
Then I started paying attention to how many kettles get binned early, and how much extra electricity a scaled-up one quietly burns every single morning.
A ten-minute clean suddenly felt worth it. Here is exactly how I keep mine running like new.
Key Takeaways
- To clean a stainless steel kettle, boil it with equal parts water and white vinegar, or one to two tablespoons of citric acid, soak for 20 minutes, then rinse and boil fresh water before use.
- Citric acid is the most eco-friendly descaler: odorless, food-safe, and the same active ingredient as most commercial tablets, without the added dye and fragrance.
- Limescale is not harmful to drink, but removing it improves taste, speeds up boiling, and extends the kettle’s life.
- A descaled kettle uses less electricity, since limescale can cut a heating element’s efficiency by up to 12 percent.
- Clean the outside with a soft microfiber cloth only, and never use steel wool or bleach on stainless steel.
Why Does Your Stainless Steel Kettle Get Dirty?

That cloudy white film at the bottom of your kettle has a name. Limescale is a hard, chalky deposit of calcium carbonate left behind when hard water is boiled and the water evaporates.
The harder your water, the more calcium and magnesium it carries, and the faster that crust forms.
Not every mark is limescale, though. White and scaly almost always means mineral buildup.
Brown, black, or rainbow-tinted patches usually point to burnt-on residue, harmless surface oxidation, or tea and coffee staining if you use the kettle for more than water.
It is not only a looks problem. According to British Water, just 1.6 mm of limescale on a heating element can cut its efficiency by up to 12 percent, which means your kettle works harder and draws more power for the same cup of tea.
That single fact is why I stopped treating descaling as optional, and it is the thread that runs through this whole guide.
- Key takeaway: limescale is mostly cosmetic at first, but left alone it makes your kettle slower, thirstier for electricity, and quicker to fail.
Is the White Stuff in My Kettle Safe to Drink?
")
Here is the reassuring part. Limescale in a kettle is not harmful to drink.
It is calcium carbonate from hard water, but it affects taste, slows boiling, and shortens the kettle’s life.
The World Health Organization’s review of water hardness notes that the minerals in hard water are not a recognized health risk, and in small amounts they simply add to your daily calcium and magnesium intake.
So if you have just spotted the flakes and felt a flush of worry, you can relax. Nobody has been harmed by a bit of kettle scale.
That said, it is still worth removing. Limescale dulls the flavor of your water and tea, and it leaves gritty bits floating in your cup.
It also forces the element to work harder every time you switch the kettle on. So here is how to get rid of it for good.
What You’ll Need to Clean a Kettle Naturally
You almost certainly have most of this in your kitchen already. To clean a kettle naturally, you just need a mild acid to dissolve the limescale, plus a few soft tools for scrubbing and drying.
Here is the full list:
- White vinegar (the budget workhorse)
- Food-grade citric acid powder (the odorless eco pick, and my favorite)
- Baking soda (for stubborn marks and stains)
- A fresh lemon (optional, if you like a pleasant smell)
- Soft sponge or non-abrasive brush (to protect that shiny surface)
- Microfiber cloth (lint-free, for a streak-free outside)

Both white vinegar and citric acid are mild acids that dissolve the alkaline calcium carbonate in limescale, which is what makes them work.
One note on salt: keep it out of the soak. A pinch on a damp cloth is fine for scrubbing a single stubborn spot, then rinse it straight off, but salt left sitting in an acidic solution can pit stainless steel over time.
How to Clean Stainless Steel Kettle – Inside (Step-by-Step)
")
The core method is simple, and it is the same whether your kettle is electric or stovetop.
Fill the kettle with equal parts water and white vinegar, or stir one to two tablespoons of citric acid into a full kettle.
Then boil it, switch it off, and let it sit for 20 minutes while the acid does the work.
The Standard Descale for Light Buildup
For everyday scale, follow these steps:
- Fill the kettle halfway with water, then top it up to the same level with white vinegar for an equal-parts mix. For citric acid, fill the kettle with plain water and stir in one to two tablespoons.
- Bring it to a boil, then switch it off.
- Let it stand for 20 minutes. For heavier scale, leave it up to an hour.
- Pour the solution out and wipe the loosened scale away with a soft sponge.
- Rinse thoroughly, then boil one or two full batches of fresh water and tip them out. This clears any lingering taste before you make your next drink.
For Stubborn Buildup or Stains
If a few patches cling on, make a paste of baking soda and a little water, apply it to the spots, and let it sit for ten minutes before scrubbing gently with a soft sponge.
Baking soda is a mild abrasive that lifts marks without scratching, and if you want the full picture of why baking soda works as a natural cleaner, I have written about it separately.
Then run the vinegar or citric acid boil once more to finish.
Electric-kettle safety note: never submerge the base or the electrical contacts. Clean only the inside chamber, wipe the outside with a damp cloth, and keep water well away from the plug socket and connection points.
If you have a stovetop kettle, the inside method is identical. There is no element to worry about, so you have a little more freedom with the exterior.
Vinegar vs. Citric Acid vs. Lemon vs. Descaler Tablets: Which Is Best?
All four remove limescale, but they are not equal on cost, smell, or what is actually in them.
Citric acid is the most eco-friendly kettle descaler. It is odorless, food-safe, inexpensive, and the same active ingredient found in most commercial descaler tablets.
Here is how the common options compare:
| Method | Cost | Smell | Notes |
| White vinegar | Cheapest | Mild, lingers | Already in your cupboard; rinse well |
| Citric acid | Cheap | Odorless | Food-safe; the eco pick; same active as most tablets |
| Lemon juice | Pricier | Pleasant | Works, but less economical |
| Descaler tablets | Premium | Often fragranced | Frequently citric acid plus dye, fragrance, and filler |
This is where it pays to read a label.
There is nothing wrong with the citric acid in them, but you are paying extra for the dye and perfume you do not need near your drinking water.
The EPA’s Safer Choice program is a helpful reference when you want to see what is actually in a cleaning product before you buy it.
My honest take: a 99 cent bag of plain citric acid does the same job, with less packaging and no mystery additives.
How to Clean the Outside Without Scratches or Streaks

The outside is where stainless steel earns its reputation, and also where it is easiest to ruin.
To clean the outside of a stainless steel kettle without scratching it, use a soft microfiber cloth, never steel wool or abrasive scrubbers, which leave permanent marks.
Add a drop of dish soap to a damp microfiber cloth and buff the surface in small circles, following the grain of the steel.
For extra shine, a tiny amount of olive oil on a clean dry cloth brings up a streak-free finish.
Then dry the kettle right away, because water left to air-dry on stainless steel is what causes those cloudy spots in the first place.
A good microfiber cloth lasts for years if you look after it, and a little care keeps it lint-free and effective. If you want to get the most out of yours, here is how to keep your microfiber cloth clean and lint-free.
If You Have a Stovetop Kettle
Most of this guide leads with electric kettles, but stovetop owners are not left out.
The inside method is exactly the same: a vinegar or citric acid boil, a 20-minute soak, a rinse, and a fresh-water boil to finish.
The differences are on the outside. Stovetop kettles pick up splatter and heat marks from the burner, so they benefit from a slightly more regular exterior buff with that microfiber cloth.
The kettle in the photos and video here is my own, scale and all, cleaned with nothing more exotic than vinegar and a cloth.

What NOT to Do When Cleaning a Stainless Steel Kettle
A few habits do more harm than good, and most kettle damage I see comes down to this short list.
To safely descale stainless steel, avoid bleach, steel wool, and prolonged salt contact, and use diluted vinegar or citric acid rinsed thoroughly.
Specifically, steer clear of these:
- Bleach or chlorine cleaners, which can corrode and discolor stainless steel.
- Steel wool or abrasive scouring pads, which leave permanent scratches.
- The dishwasher, since most kettles, and all electric ones, are not dishwasher-safe.
- Boiling the kettle dry, which can warp the base and damage an element.
- Letting salt or vinegar soak for hours or overnight, which can pit or corrode the steel.
- Submerging an electric kettle’s base or electrical contacts in water.
")
The Eco Payoff: Why a Clean Kettle Is Better for the Planet
This is the part most cleaning guides skip, and it is why I care about a ten-minute job at all.
Descaling a kettle improves its energy efficiency, because limescale forces the heating element to work harder, so a clean kettle boils faster and uses less electricity.
That is the British Water figure again: up to 12 percent more energy lost to a scaled element.
A maintained kettle also lasts years longer, which keeps it out of landfill, and a vinegar or citric acid descale leaves no chemical residue near your water.
I am not trying to save the world with a kettle. I just know the small kitchen choices add up, for the planet and the power bill.
Only boiling the water you need, as the Energy Saving Trust recommends, cuts both your scale and your energy use at once.
How to Prevent Limescale Buildup
Prevention is far easier than a deep scrub.
To prevent limescale, descale a stainless steel kettle every one to two months, more often in hard-water areas, and only boil the amount of water you need.
A few simple habits make the difference. Empty the kettle after each use instead of leaving water to sit and evaporate.
Give the inside a quick wipe and let it dry. Boil only what you are about to use, since less standing water means less scale and less wasted energy.
And if you live in a hard-water area, expect to descale every two to four weeks rather than monthly, because the buildup simply happens faster.
When Should You Replace Your Kettle?
Sometimes a kettle is genuinely past saving, and it is worth being honest about that.
If the heating element is corroded, the water keeps a persistent metallic taste no matter how often you descale, or you can see actual pitting in the steel, it may be time for a new one.
If you do reach that point, it is a chance to choose better.
Rather than another plastic-heavy kettle, look for a healthier, lower-waste option that keeps plastic away from your boiling water.
My guide to the best plastic-free electric kettle walks through the picks I would actually buy, and why.
The Best Eco-Friendly Products for Cleaning a Stainless Steel Kettle
You do not need much to keep a kettle spotless, but a few good basics make it effortless.
For anything that touches your drinking water, I look for products that are food-safe and free of synthetic fragrance and dye.
I also want them packaged with minimal plastic, and genuinely suitable for stainless steel.
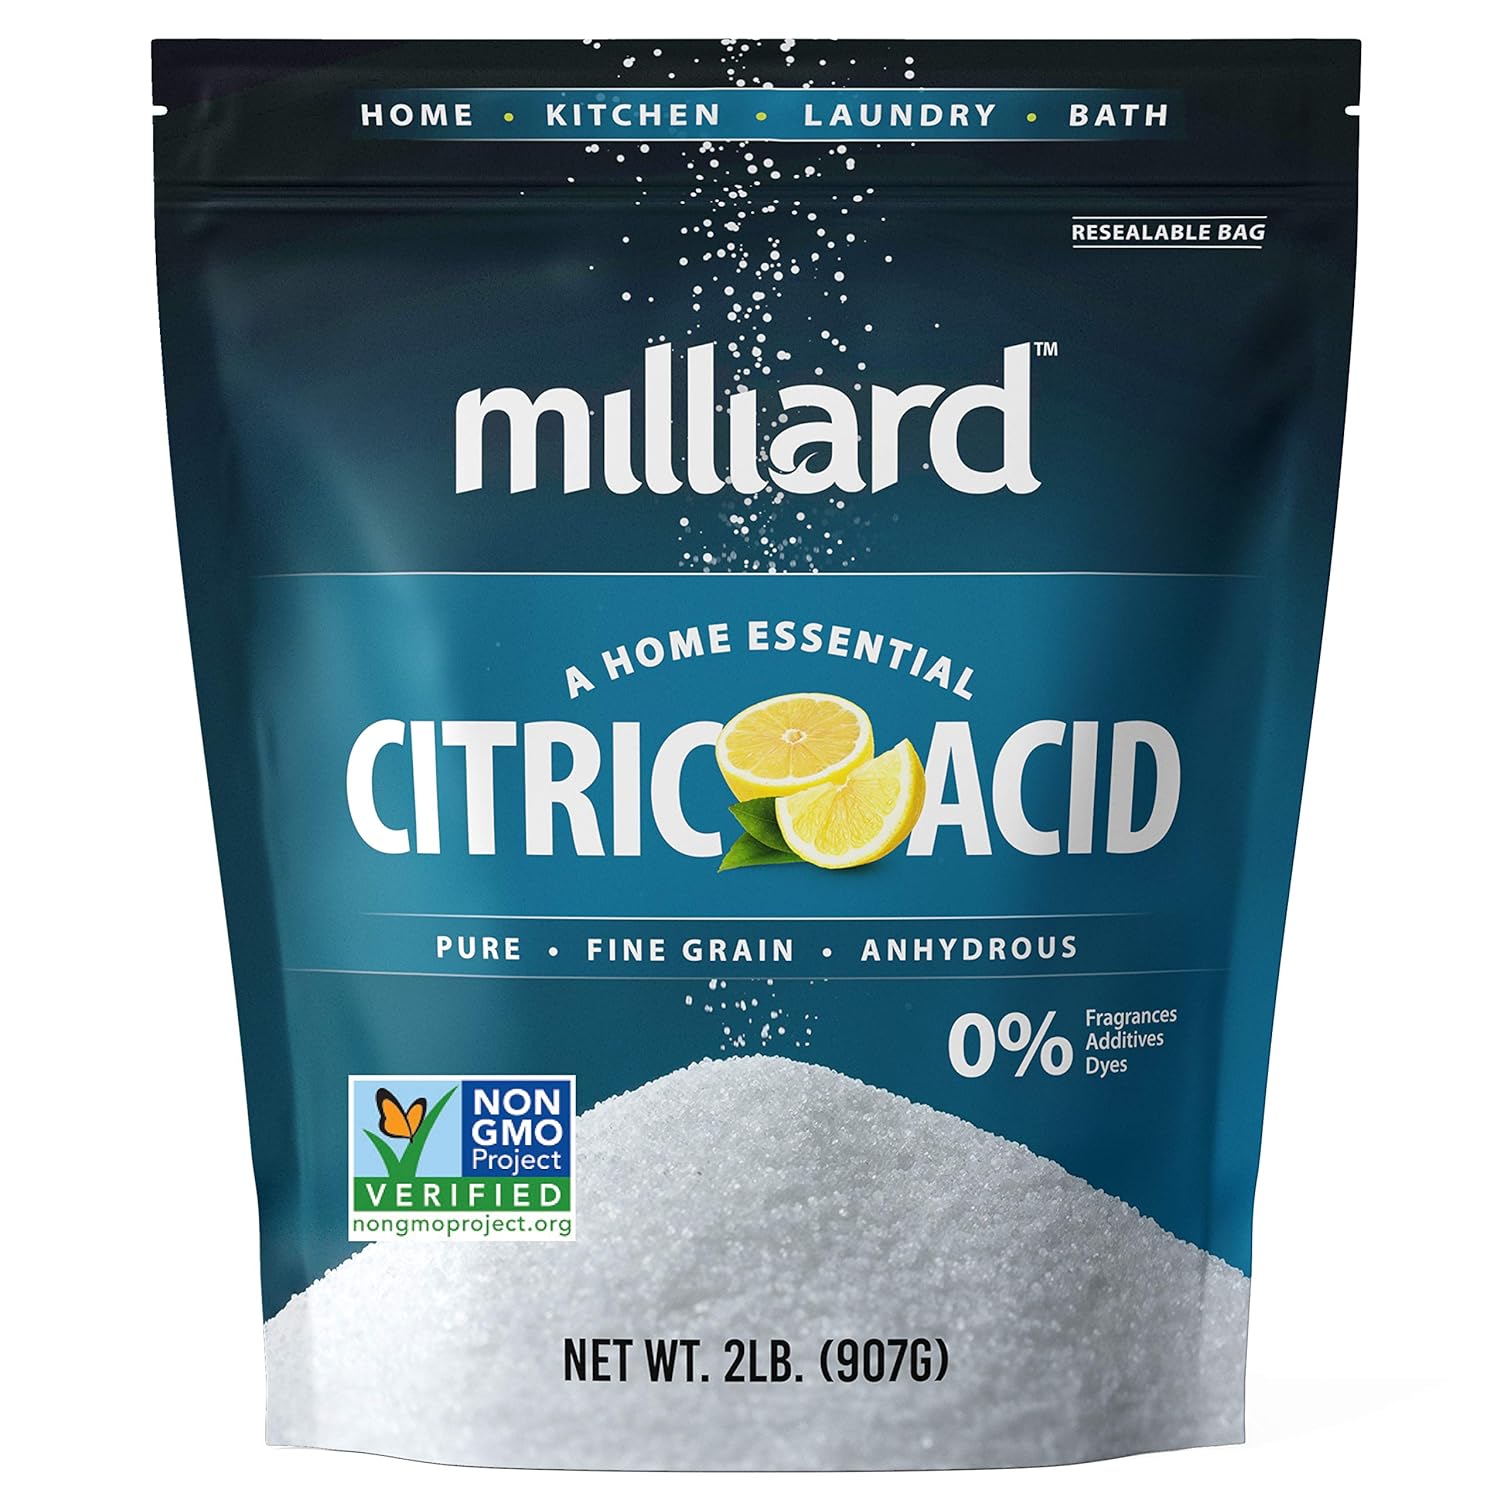
Food-grade citric acid powder is my primary pick, and the one I reach for most.
One to two tablespoons in a full kettle, boiled and rinsed, clears limescale from electric and stovetop interiors alike.
You can pick up a bag of food-grade citric acid powder and it will last you months.
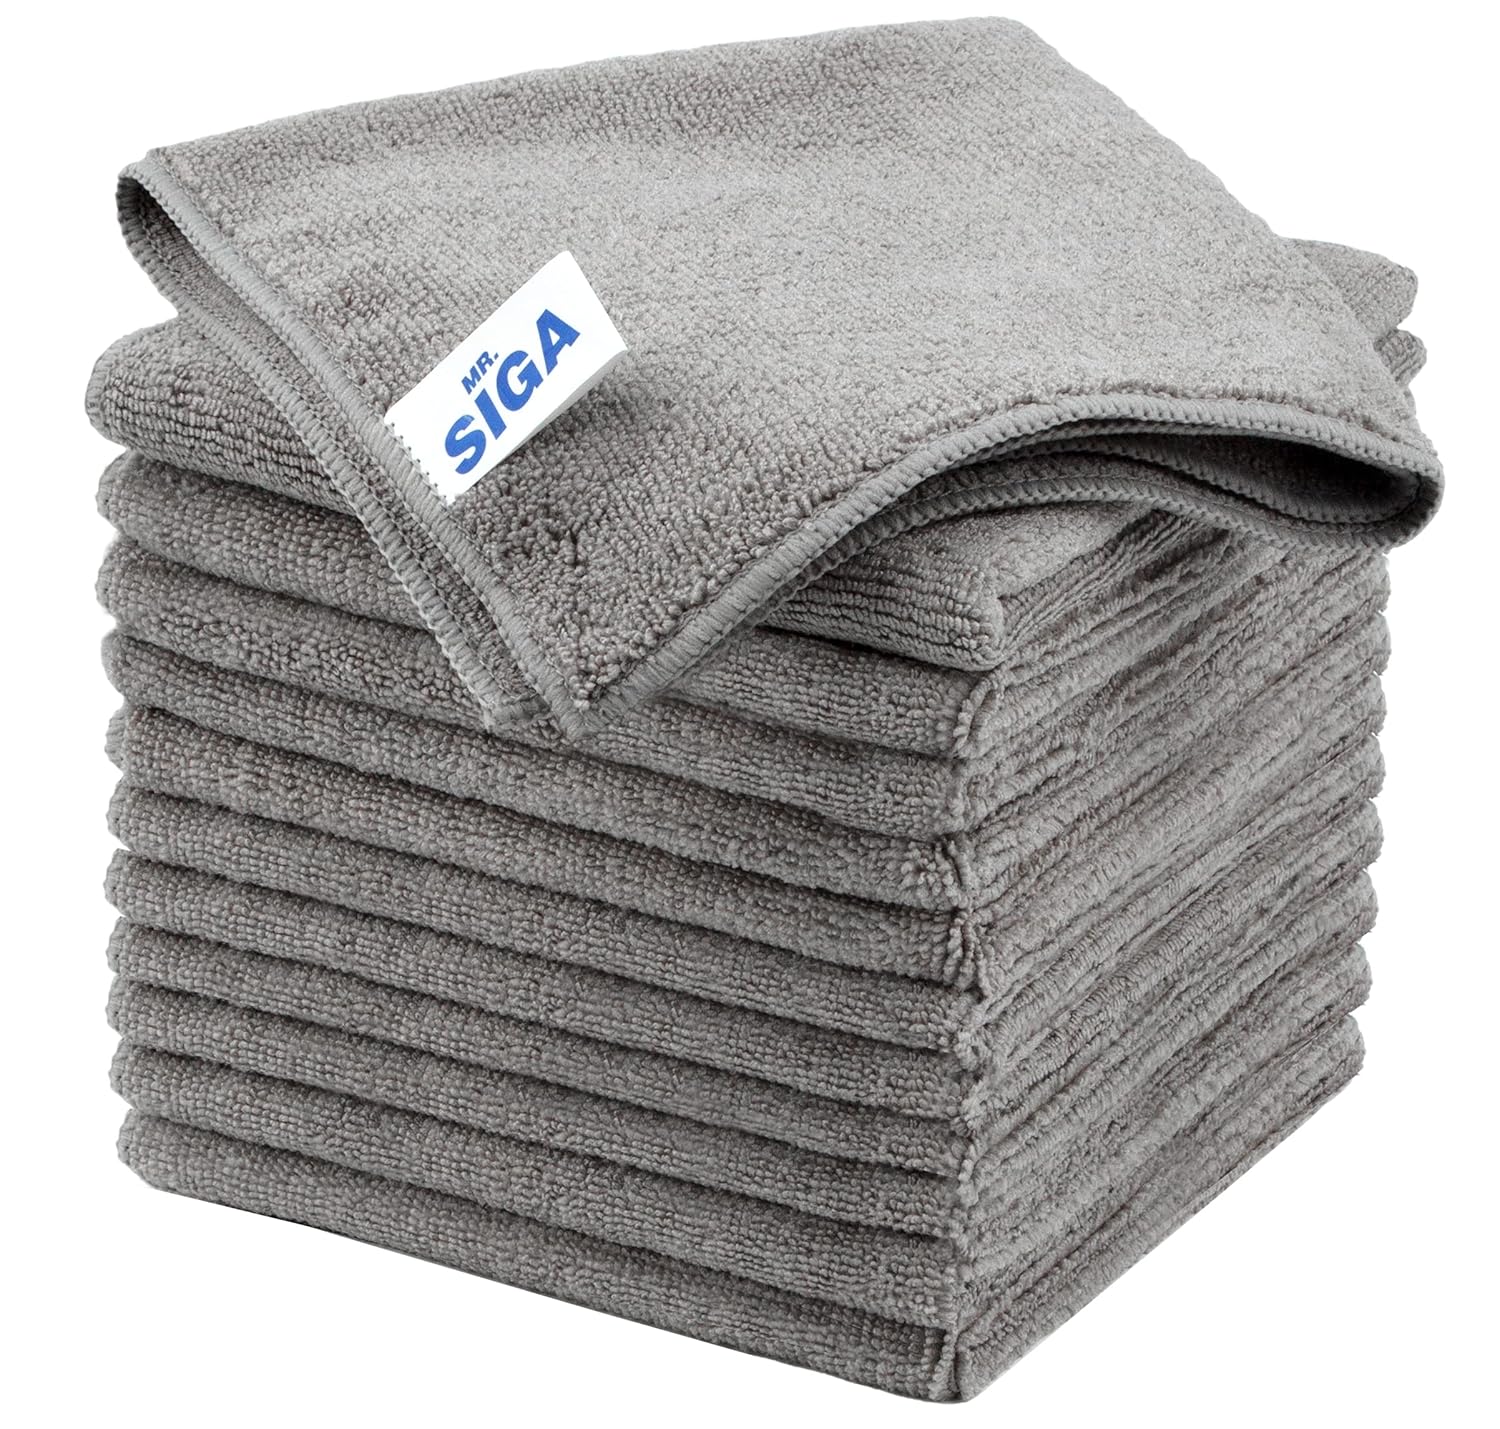
A lint-free microfiber cloth is the other essential, this time for the outside.
It is reusable for years, replaces rolls of paper towels, and buffs the steel to a streak-free finish without any abrasives.
I keep a dedicated microfiber cloth for stainless steel by the kettle for a quick daily wipe.
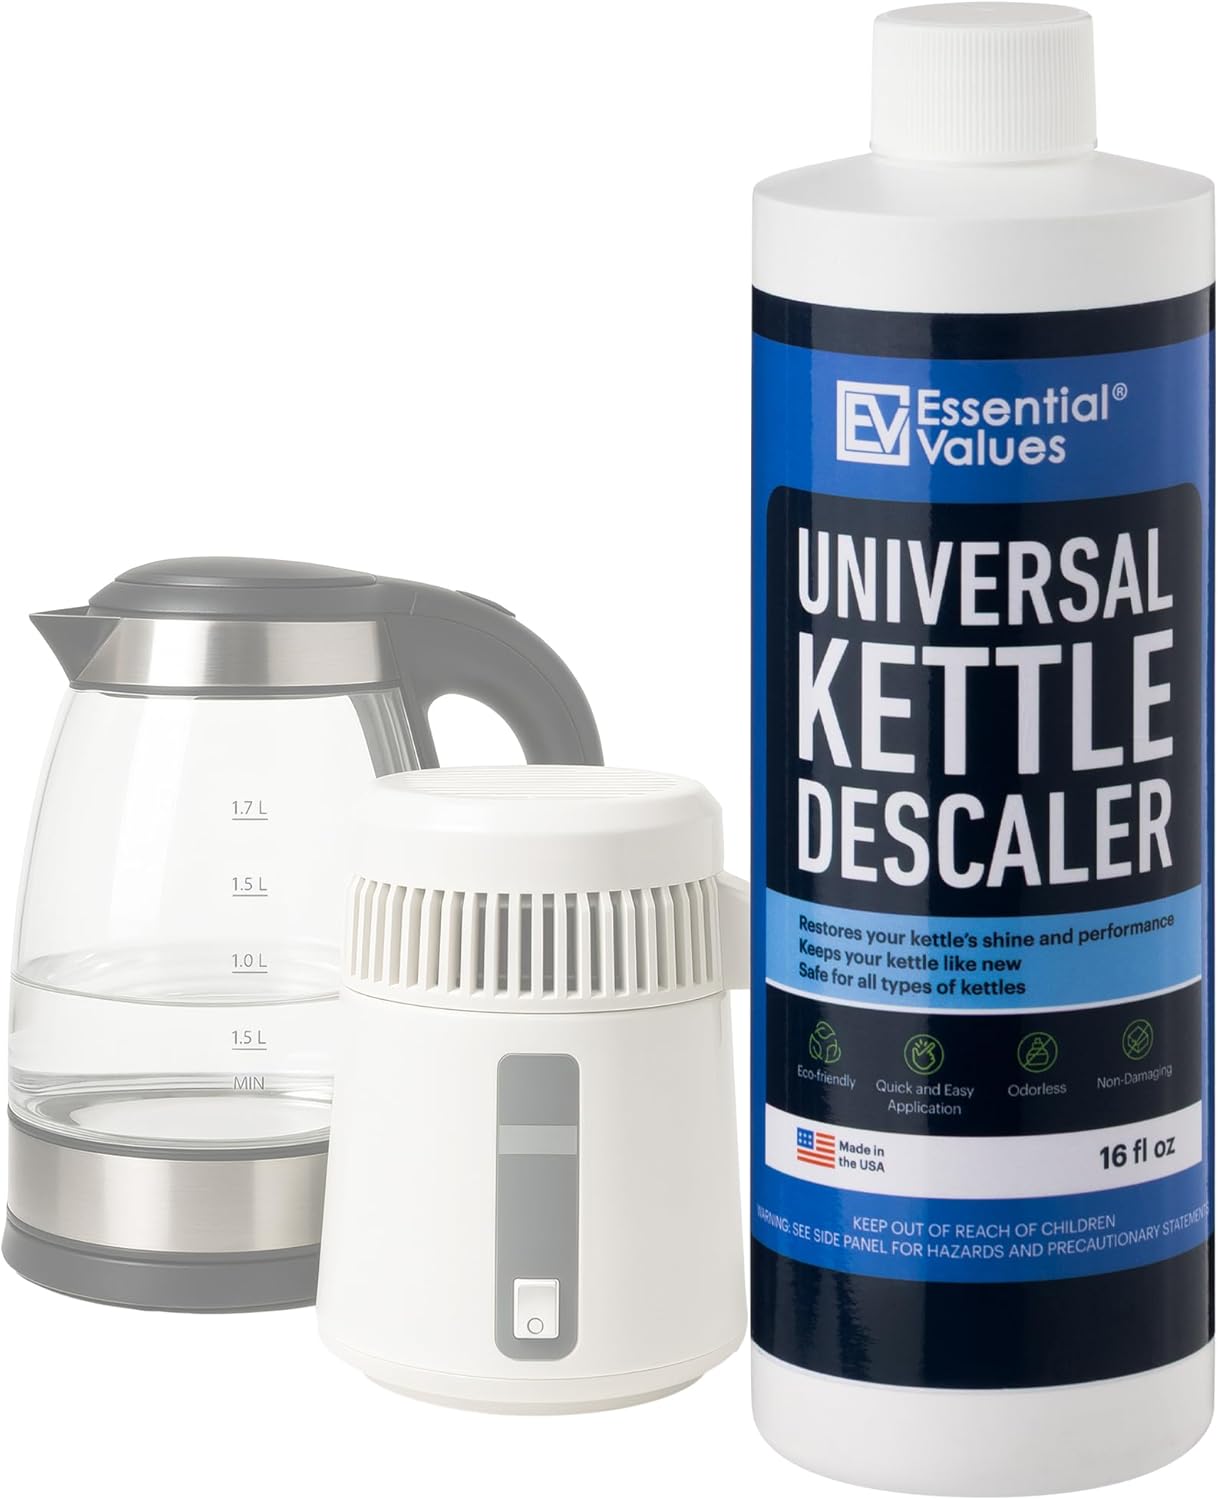
If you would rather buy a ready-made descaler than mix your own, the Essential Values Universal Descaler is a clean-label option worth a look.
It is a liquid citric acid solution made with food-safe, biodegradable ingredients, and it is designed for electric and stovetop kettles, coffee pots, and other cookware without damaging metal, glass, or plastic.
You just pour, boil, and rinse, with no measuring.
I haven’t tested this one in my own kitchen, but based on its citric-acid formula and the reviews from eco-minded buyers, it checks the right boxes.
You can see the Essential Values descaler on Amazon if convenience matters more to you than a few cents saved.
One thing I would not bother paying for is white vinegar marketed as a descaler.
Plain white vinegar from the grocery aisle does exactly the same job, and you almost certainly have a bottle already.
Small Kitchen Choices, Real Change
A clean kettle is one of those small wins that quietly pays you back.
It tastes better, boils faster, sips less electricity, and lasts far longer, all from ten minutes with something you already have in the cupboard.
That is the kind of low-effort, real change I believe in.
I am not here to tell you to overhaul your whole kitchen. I just know how good it feels to keep something working well instead of replacing it, and how those small habits add up for your home and the world outside it.
So descale your kettle this week, and when the day finally comes to replace it, choose one built to last, like the options in my best plastic-free electric kettle guide.
Your morning cup, and your electricity bill, will thank you.
- Why Does Your Stainless Steel Kettle Get Dirty?
- Is the White Stuff in My Kettle Safe to Drink?
- What You’ll Need to Clean a Kettle Naturally
- How to Clean Stainless Steel Kettle – Inside (Step-by-Step)
- Vinegar vs. Citric Acid vs. Lemon vs. Descaler Tablets: Which Is Best?
- How to Clean the Outside Without Scratches or Streaks
- If You Have a Stovetop Kettle
- What NOT to Do When Cleaning a Stainless Steel Kettle
- The Eco Payoff: Why a Clean Kettle Is Better for the Planet
- How to Prevent Limescale Buildup
- When Should You Replace Your Kettle?
- The Best Eco-Friendly Products for Cleaning a Stainless Steel Kettle
- Small Kitchen Choices, Real Change
- Frequently Asked Questions
Find More Tips At:


Frequently Asked Questions
Is limescale in a kettle safe to drink?
Yes. Limescale in a kettle is not harmful to drink, because it is simply calcium carbonate from hard water. It can affect the taste of your water and leave gritty flecks in your cup, and it makes the kettle less efficient, so it is worth removing for performance and flavor rather than safety.
How often should you descale a stainless steel kettle?
Descale a stainless steel kettle every one to two months for most households, and every two to four weeks if you live in a hard-water area. The harder your water, the faster limescale forms, so let the buildup you actually see guide your schedule. A quick monthly descale takes ten minutes and keeps the kettle boiling efficiently.
Can you use vinegar to clean a stainless steel kettle?
Yes, white vinegar is safe and effective for cleaning a stainless steel kettle when it is diluted with water and rinsed off well. Use equal parts vinegar and water, boil, soak for 20 minutes, then rinse and boil fresh water once or twice. Just don’t leave vinegar to soak overnight, since prolonged acid contact can affect the steel.
What can I use instead of vinegar to descale a kettle?
Citric acid is the best alternative to vinegar, and arguably the better eco choice, since it is odorless, food-safe, and leaves no lingering smell. Fresh lemon juice also works, though it is less economical. Avoid bleach or chlorine-based cleaners entirely, as they can corrode and discolor stainless steel.
Should you use baking soda or vinegar to descale a kettle?
Use vinegar or citric acid to descale, because limescale is alkaline and dissolves in a mild acid. Baking soda is better saved for lifting burnt-on marks, tea stains, and spot stains, since it works as a gentle abrasive rather than an acid. For everyday scale, the acid does the real work.
How do I get burn marks off a stainless steel kettle?
Make a paste of baking soda and a little water, spread it over the burn marks, and let it sit for ten to fifteen minutes before scrubbing gently with a soft sponge. Repeat if needed, then rinse well. The same approach works on scorched cookware, and you can remove burnt-on residue with baking soda using the fuller method I use on pans.